
~Amanda~
Almond Milk has been a staple in my diet for many years now and I have always wanted to learn how to make my own. I don’t follow a completely dairy free diet (cheese is one of my ‘must have’ foods), but I try to moderate it where I can because it doesn’t always settle that great with me. Switching from regular milk to dairy free milk a few years ago was a simple way for me to remove some dairy from my diet and I love the taste of dairy free milks so it was easy. I was originally drinking soy milk, but after learning about some of the negative effects (like how it can disrupt your hormone levels and it contains high levels of phytic acid which can reduce absorption of important minerals in the body), I made the switch to almond milk.
While doing my first whole 30 a few years ago, I realized that most store bought almond milks were off limits and after digging in more, I realized it was for good reason. This article from Organic Authority is a great summary on why to avoid most store bought almond milks. Here are a few highlights:
- Store bought almond milk doesn’t really have that many almonds in it! Seems ridiculous, but it’s true. Most brands contain less than a handful of almonds per half a gallon so you’re basically just paying a lot of money for water with some additives in it that aren’t good for you.
- Because there are not that many almonds in the almond milk you buy, it is lower in protein and in calcium than cow’s milk. It’s also lower in calories which is great, but you still want something that is going to give you some nutritional benefit.
- Most store bought dairy free milks contain carrageenan which is derived from seaweed. It’s used as a thickener but has been attributed to ulceration and inflammation. Even more, it has no nutritional benefits, so there’s no reason you want to put it in your body. This is a main reason almond milks are banned on the Whole30.
Basically, making almond milk from scratch at home is way way healthier than buying it at the store. And it’s surprisingly much cheaper too. You only have to pay for the almonds and any flavor additions you want. That’s it!
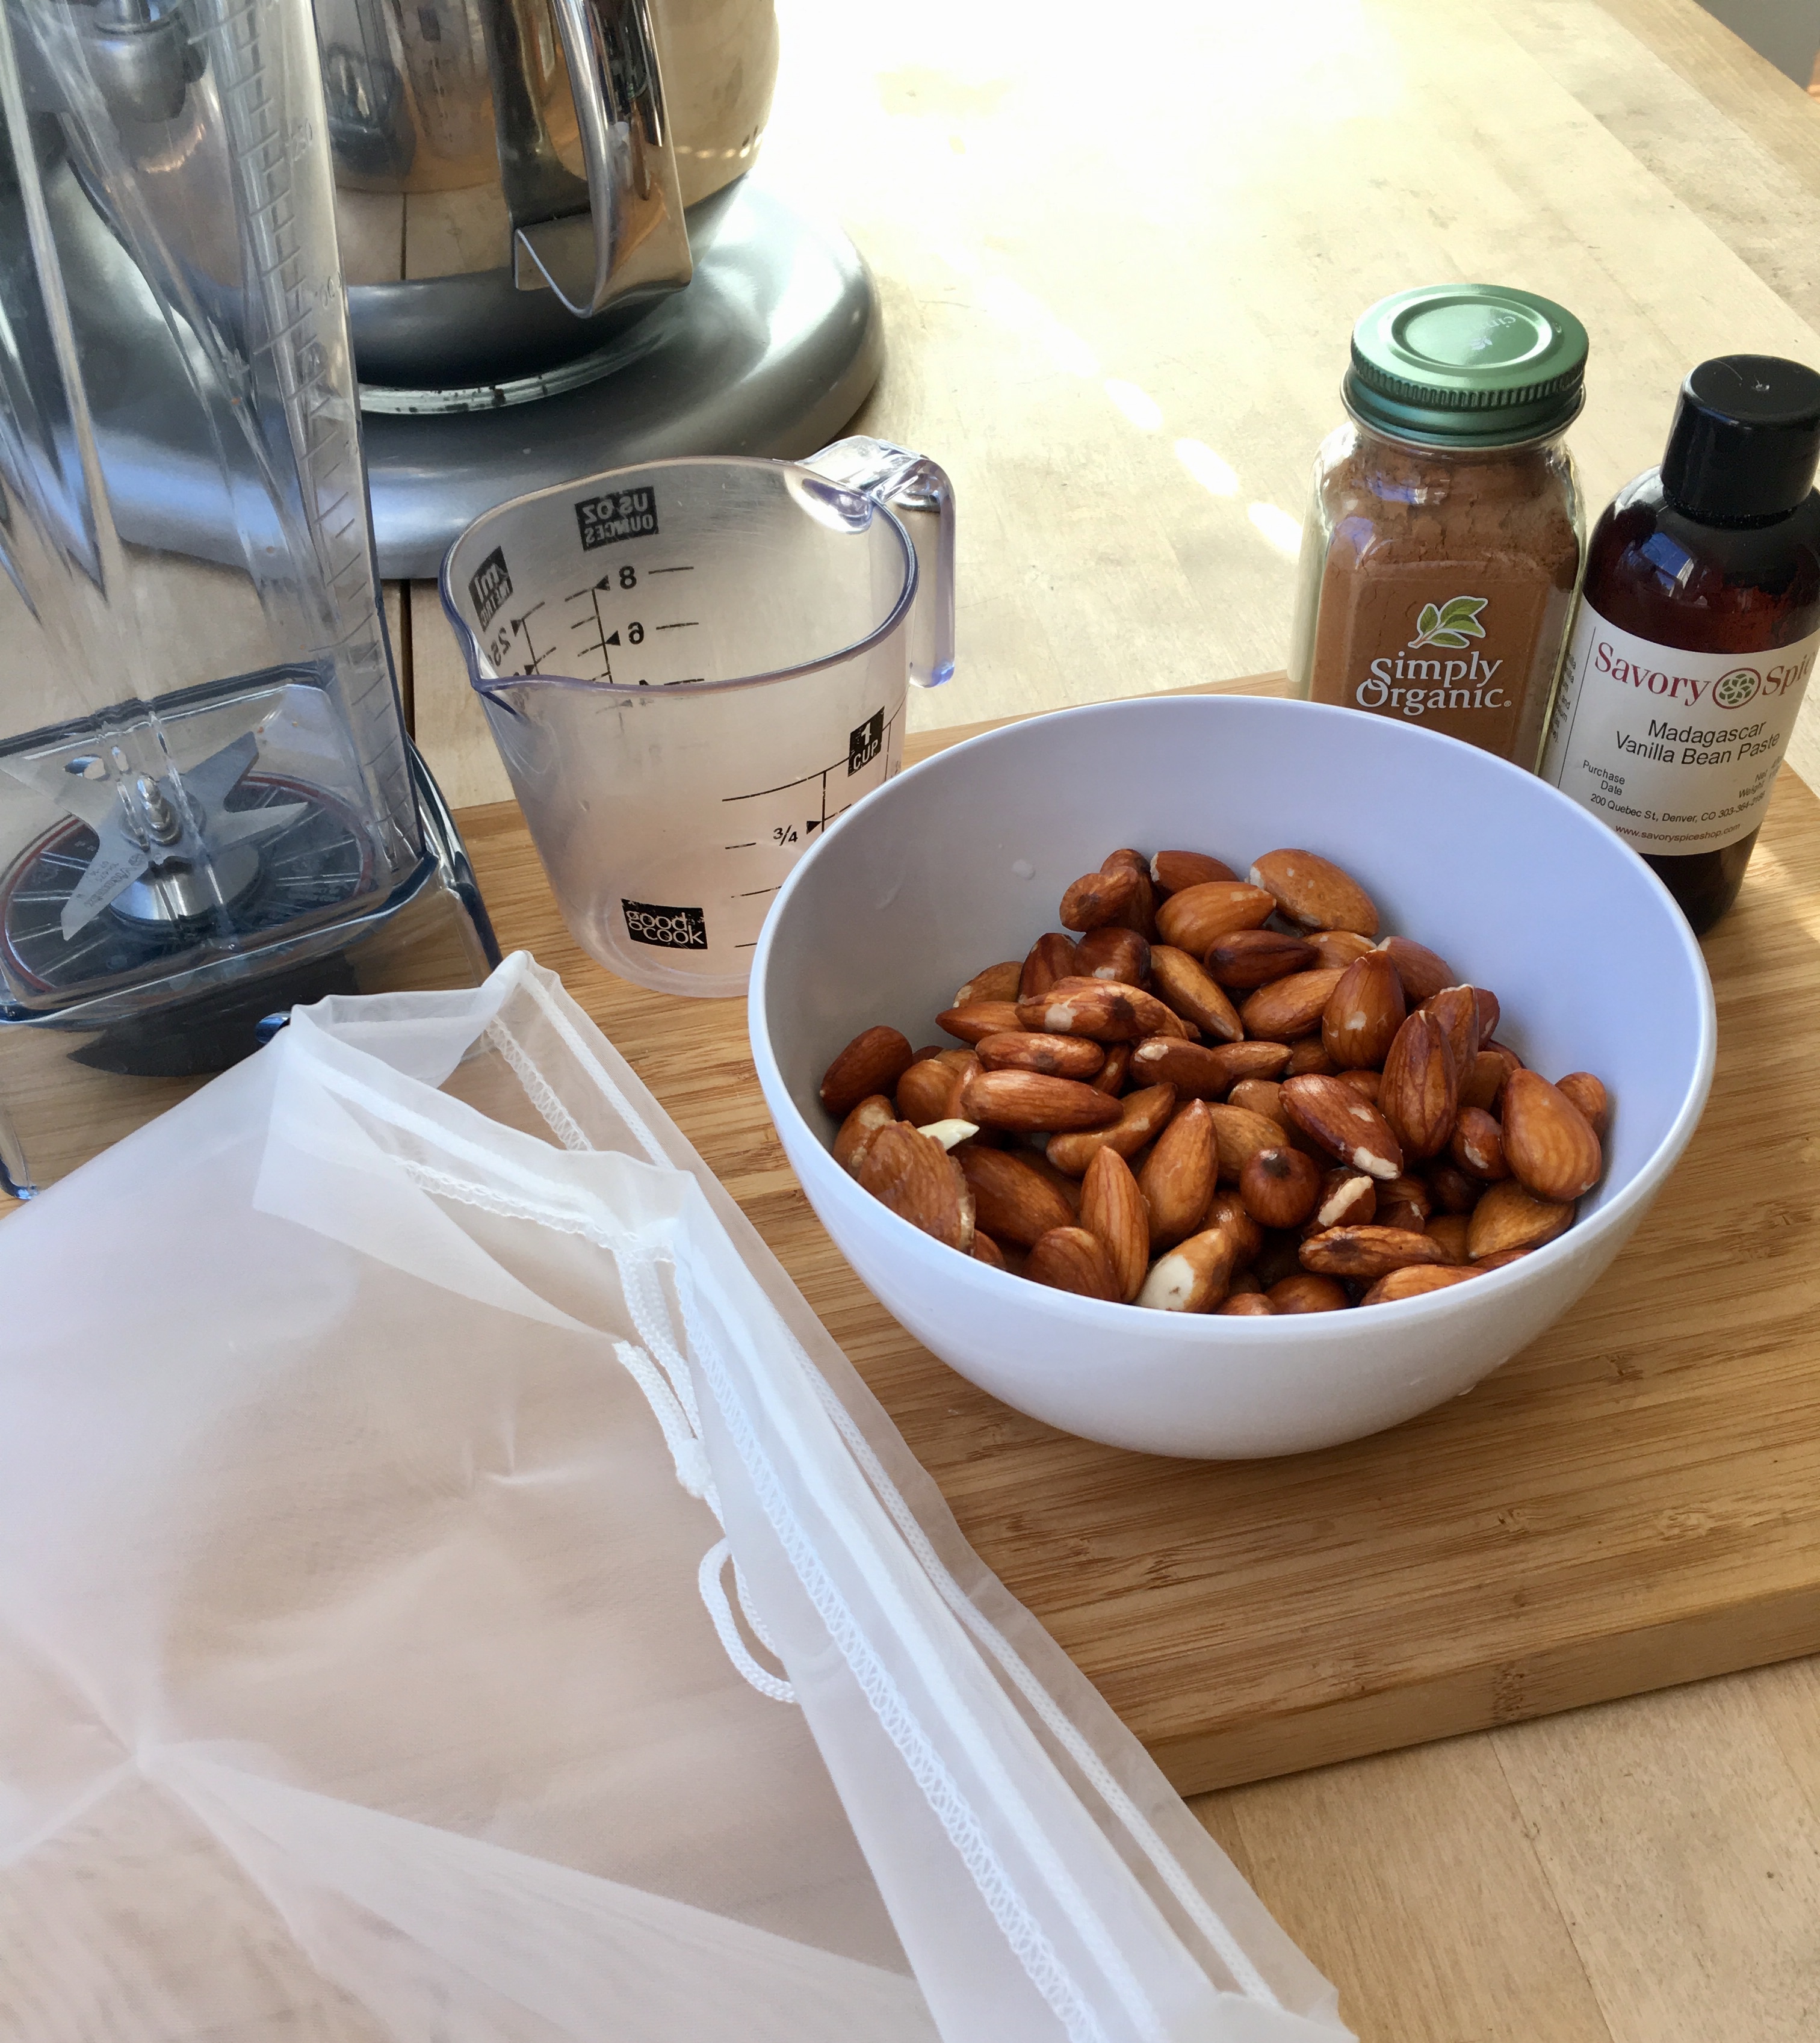
So now that all the WHY’S are out of the way, let’s talk about the HOW’s. I’ll be honest, it took me a long time to make my own almond milk because just the idea of it was super intimidating to me. I thought it was going to be this crazy long process and I didn’t know how good the finished product would end up. I made it once and now I’m hooked and will be making it all the time. It is SO EASY! Aside from your ingredients, there are two important things you need to make your own almond (or any nut milk) at home:
- A good, powerful blender. I have a Vitamix and that gets the job done with ease. I use my Vitamix for so many different things too so it’s definitely worth the investment if you don’t already have one.
- A nut milk bag. I use the Ellie’s Best Quality Nut Milk Bag and it’s amazing. It’s super easy to use and clean, it filters the particles so well and you can use it for other things like homemade juices! If you’re interested in buying your own bag from them, use PROMO CODE: THESISTERSKITCH to get 10% off your entire order!
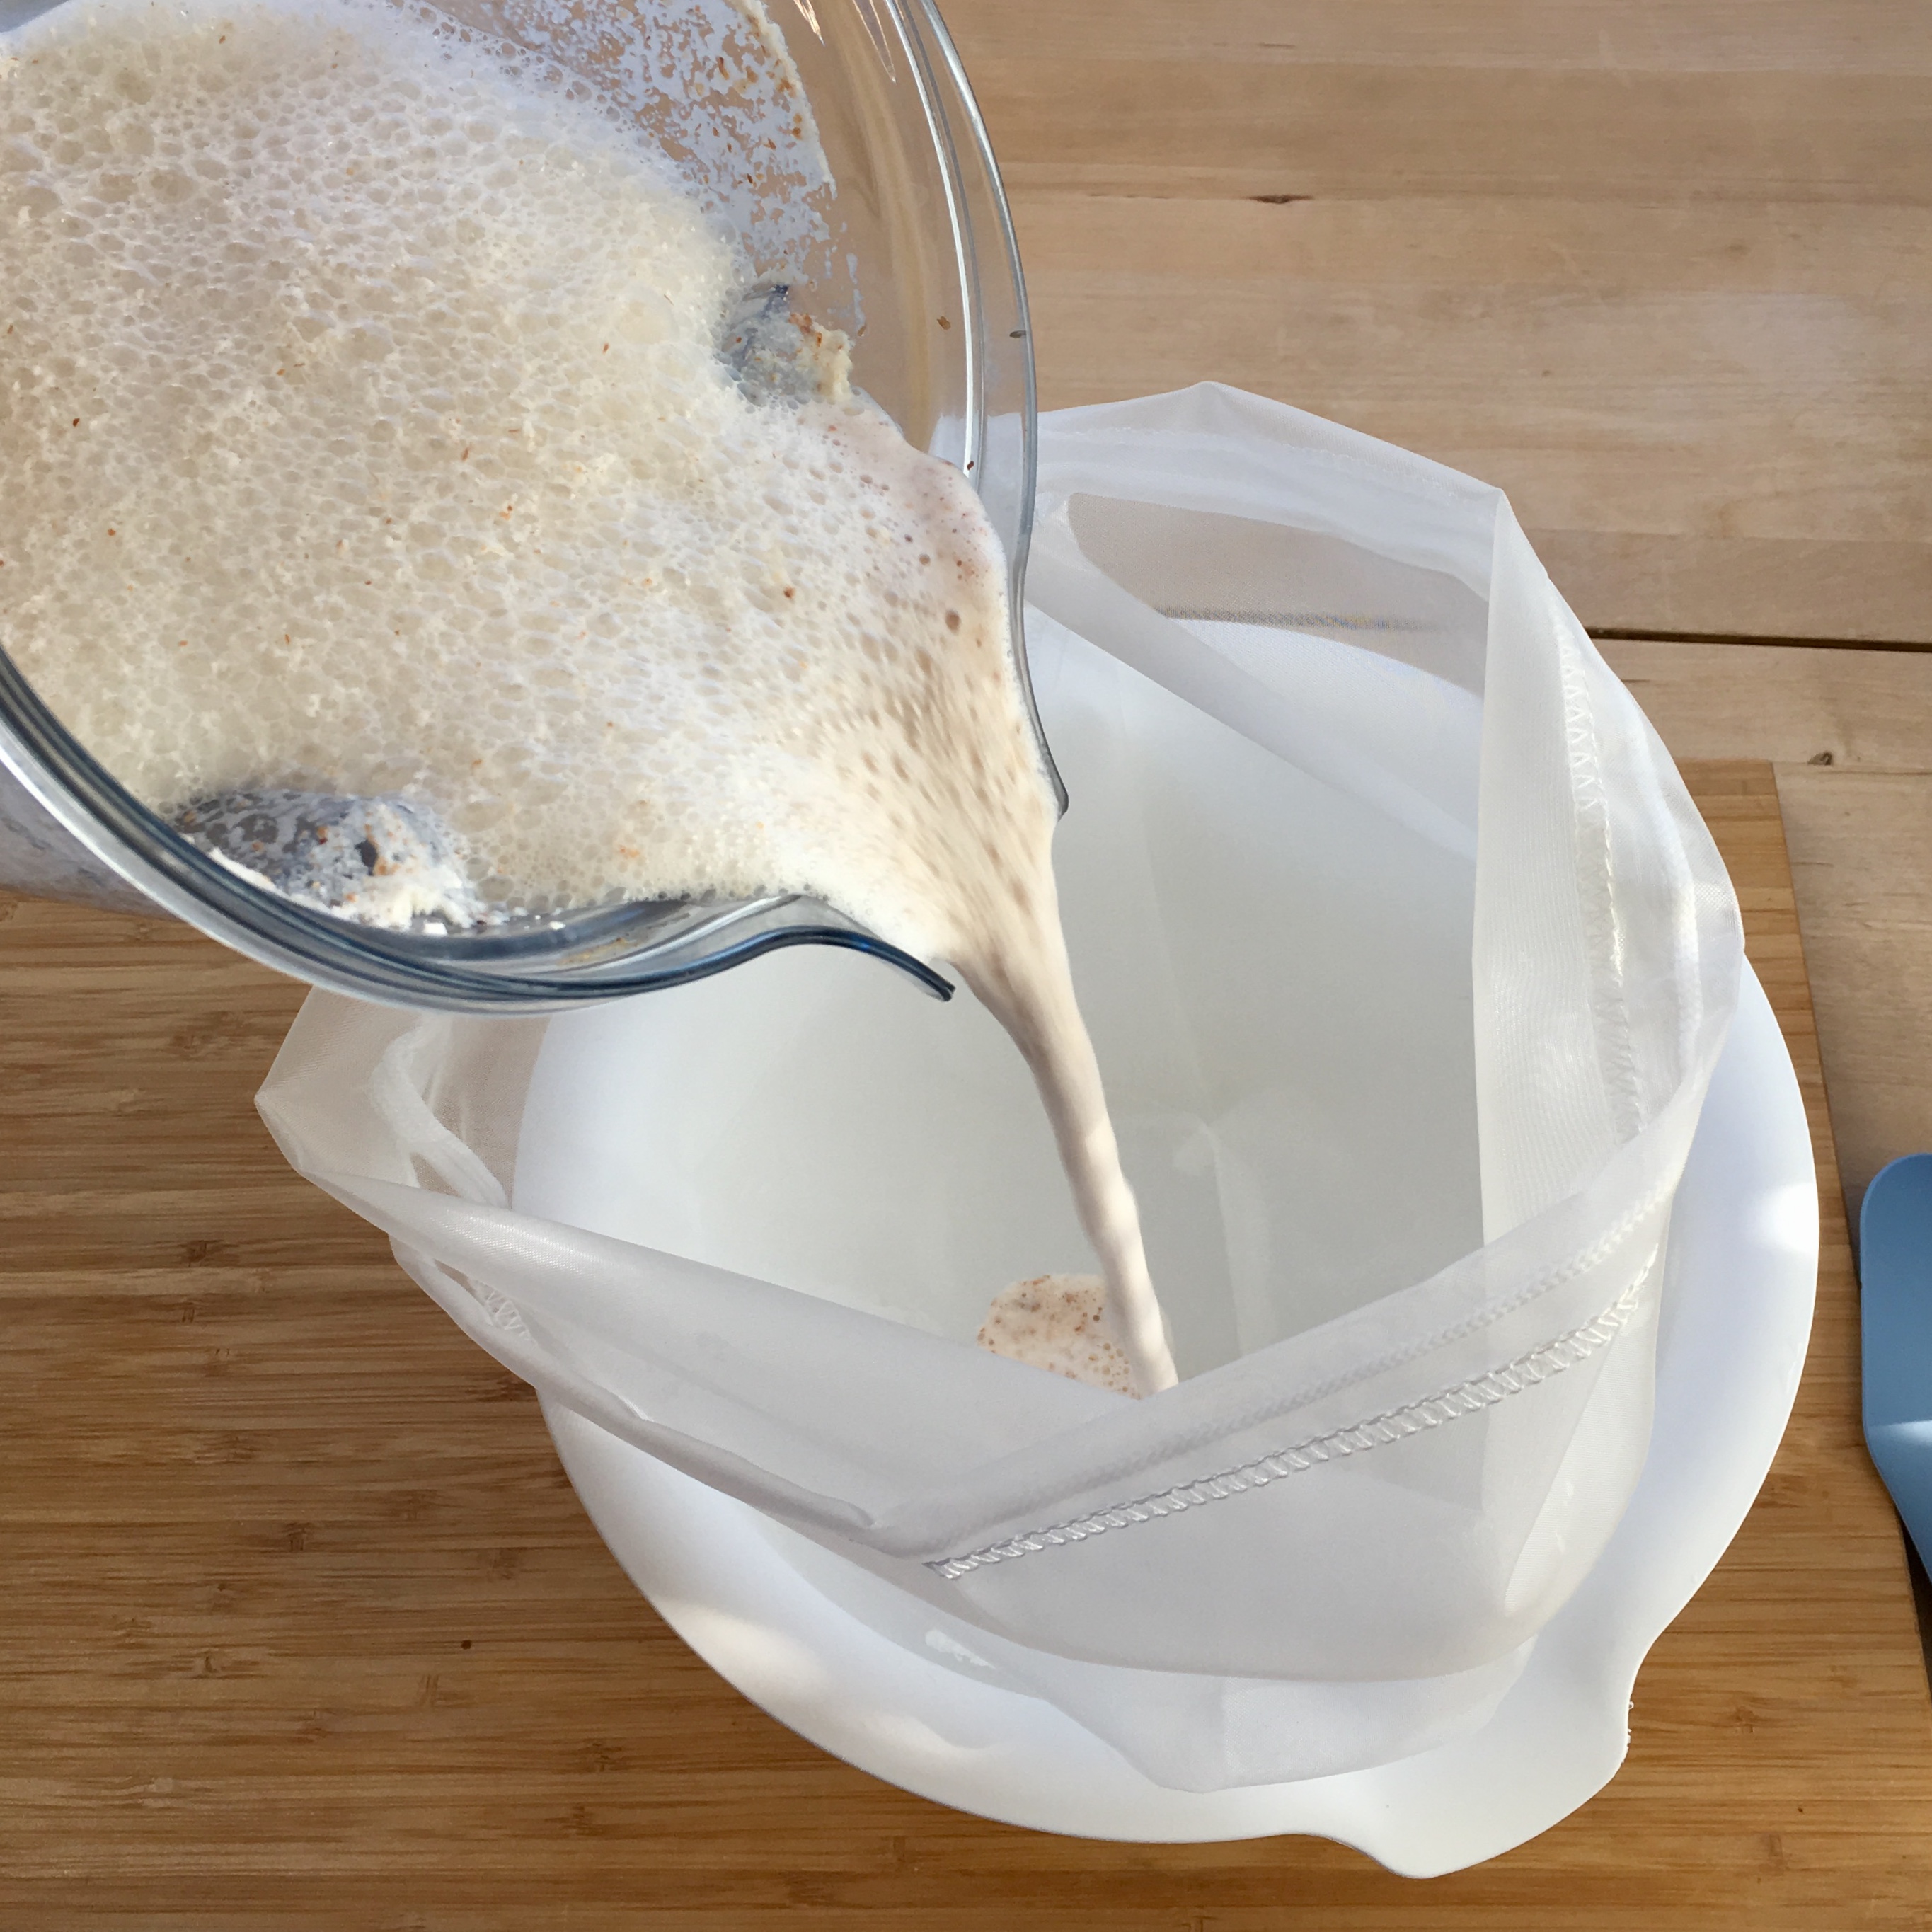
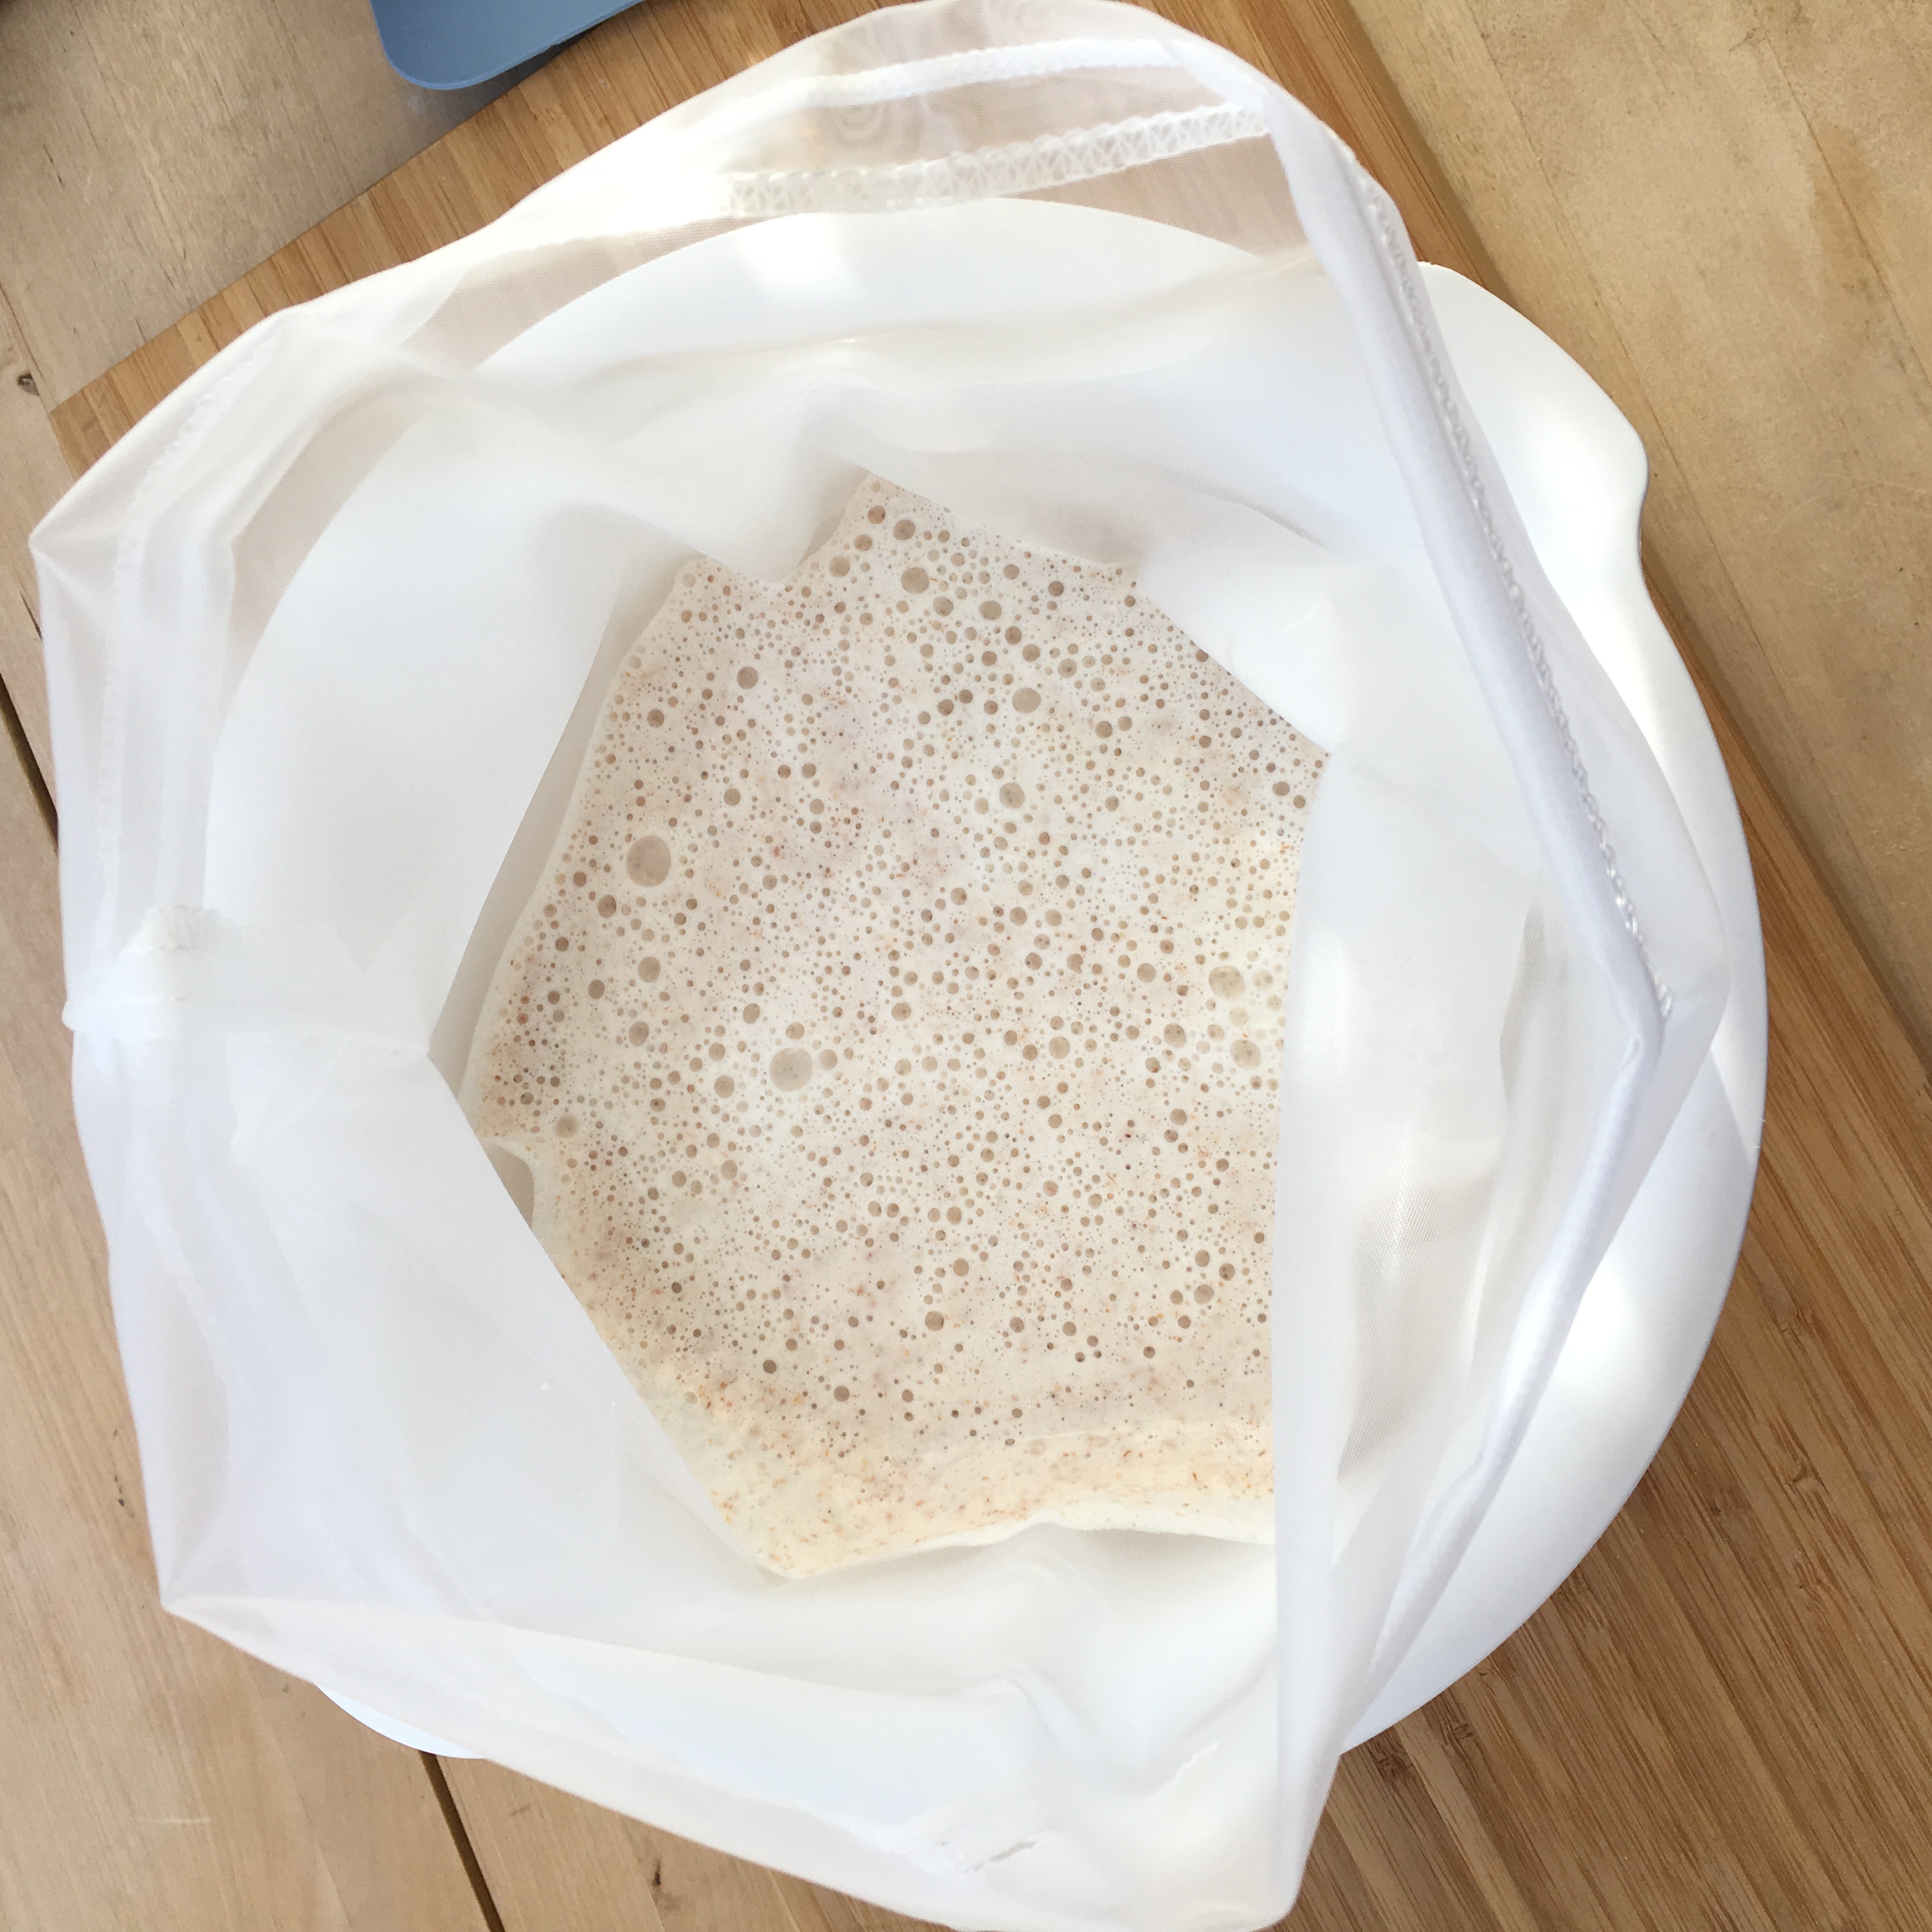
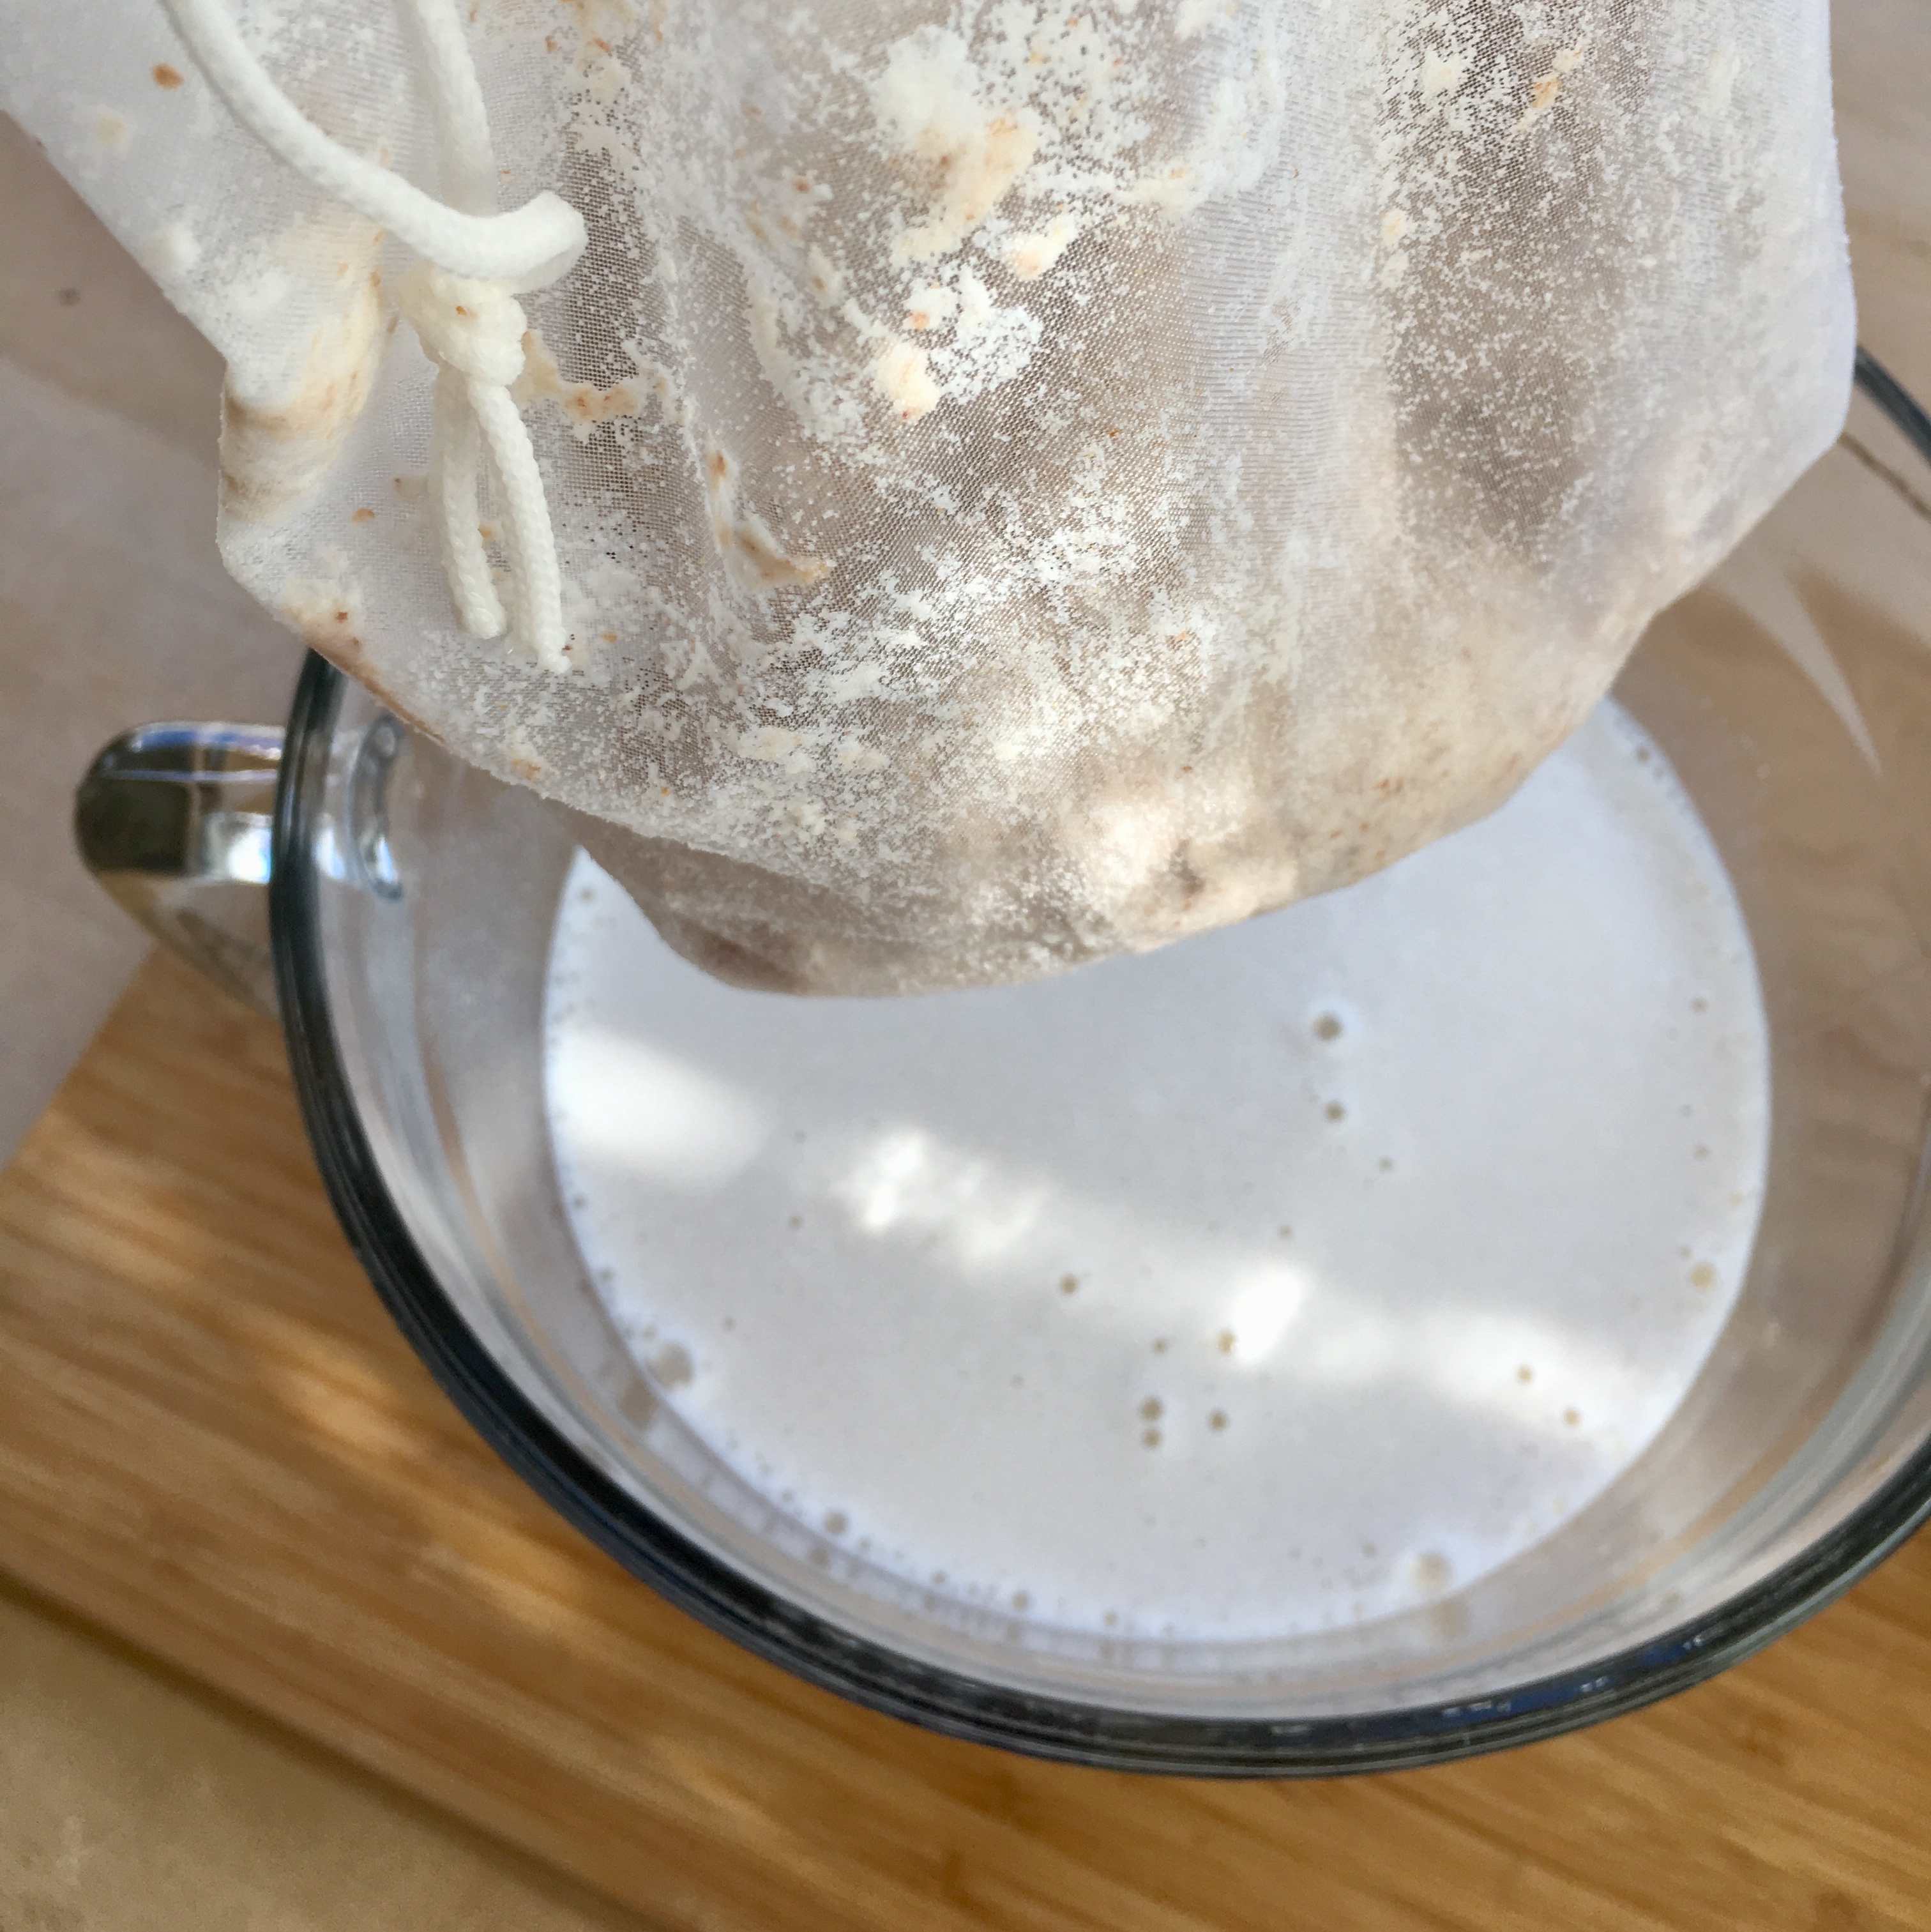
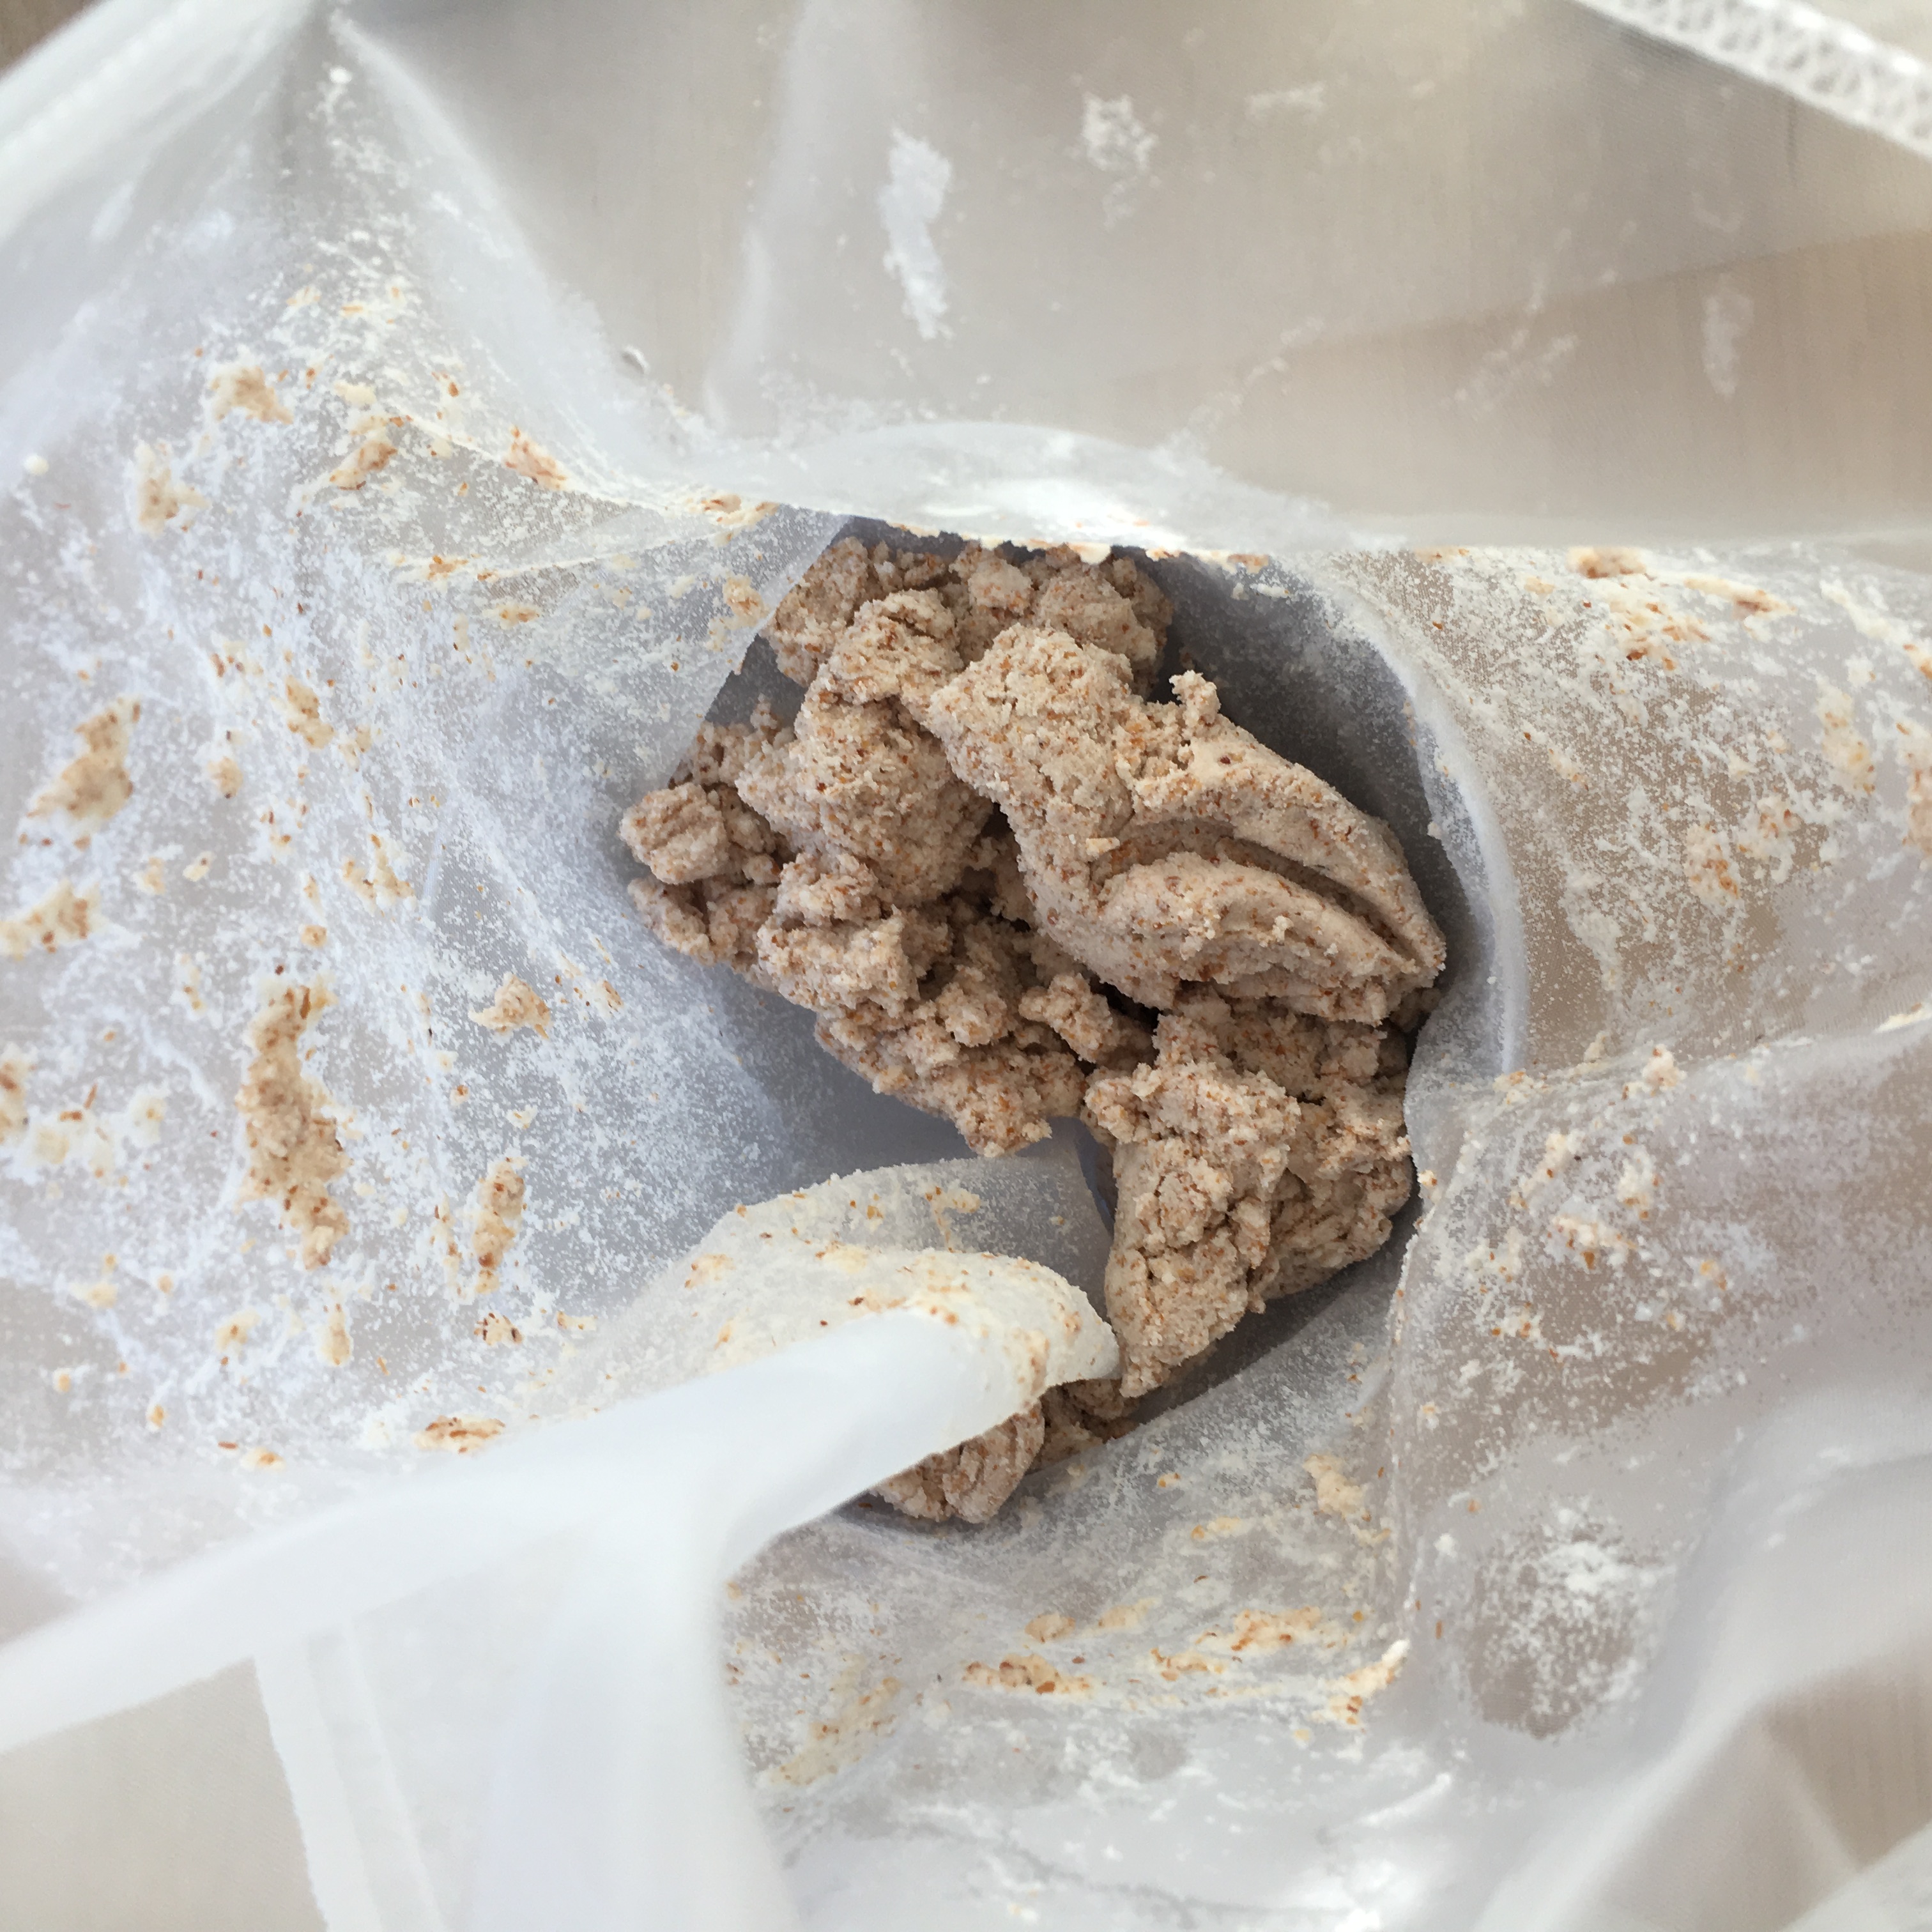
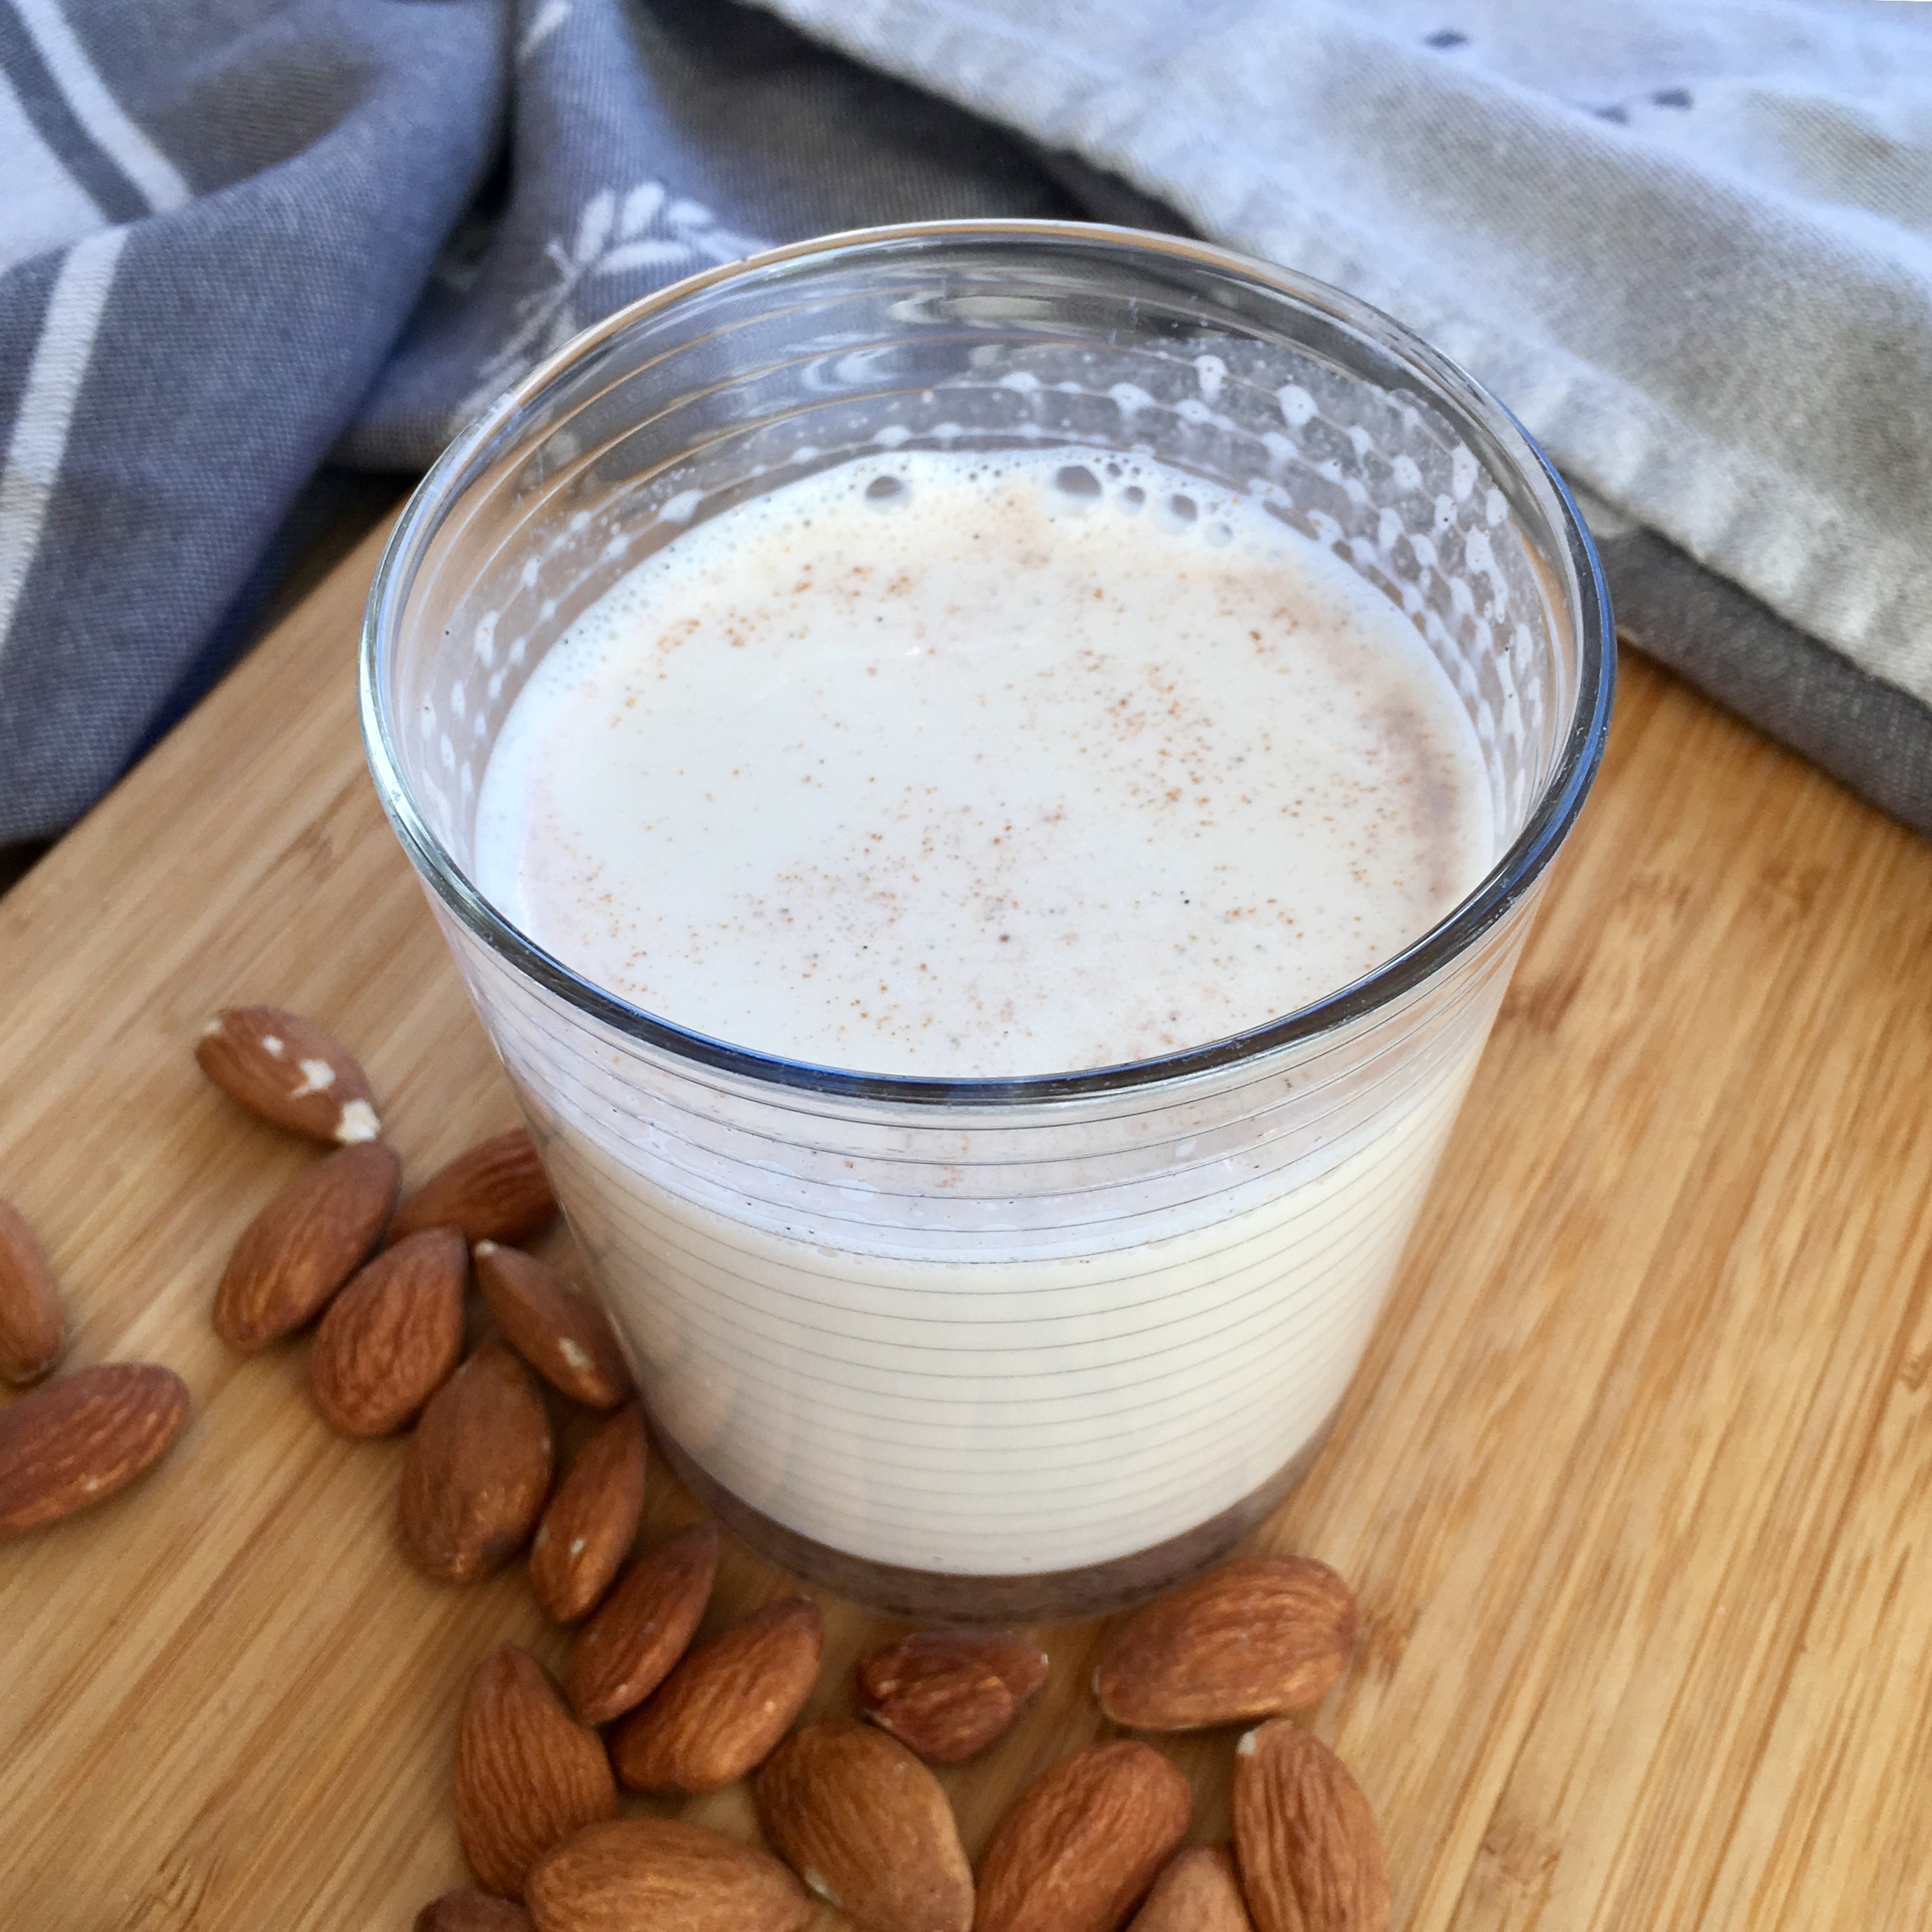
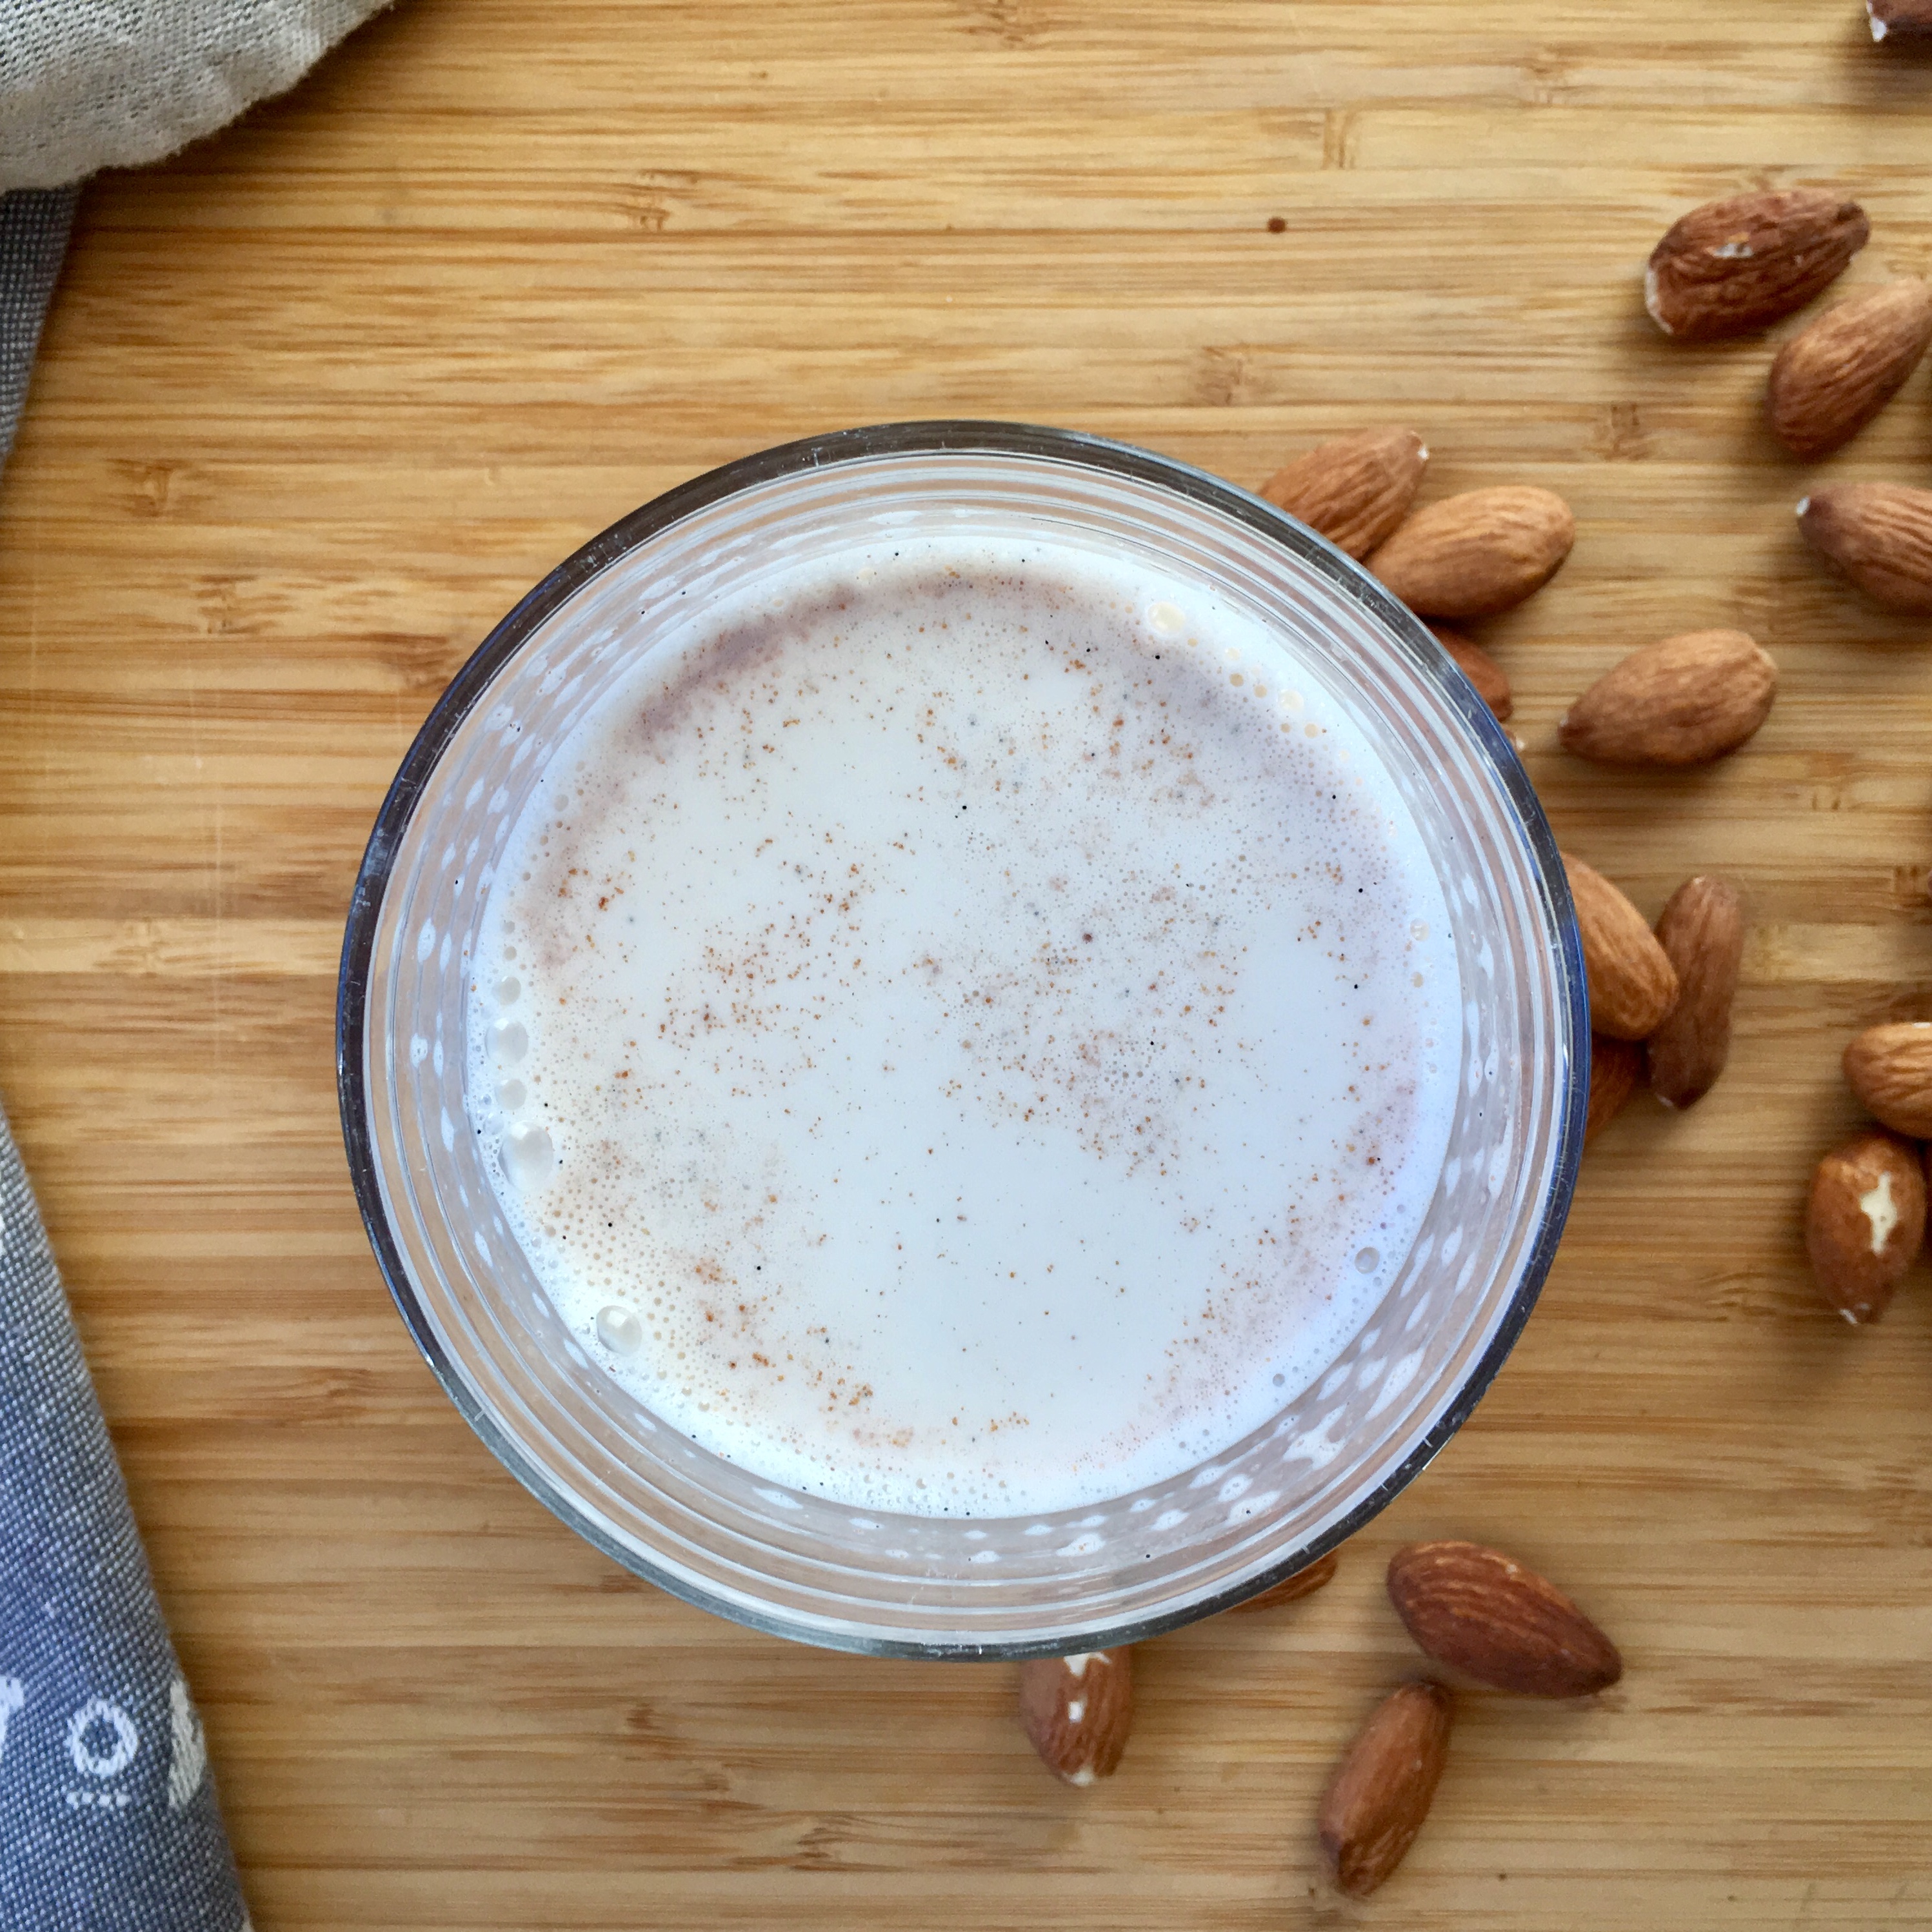
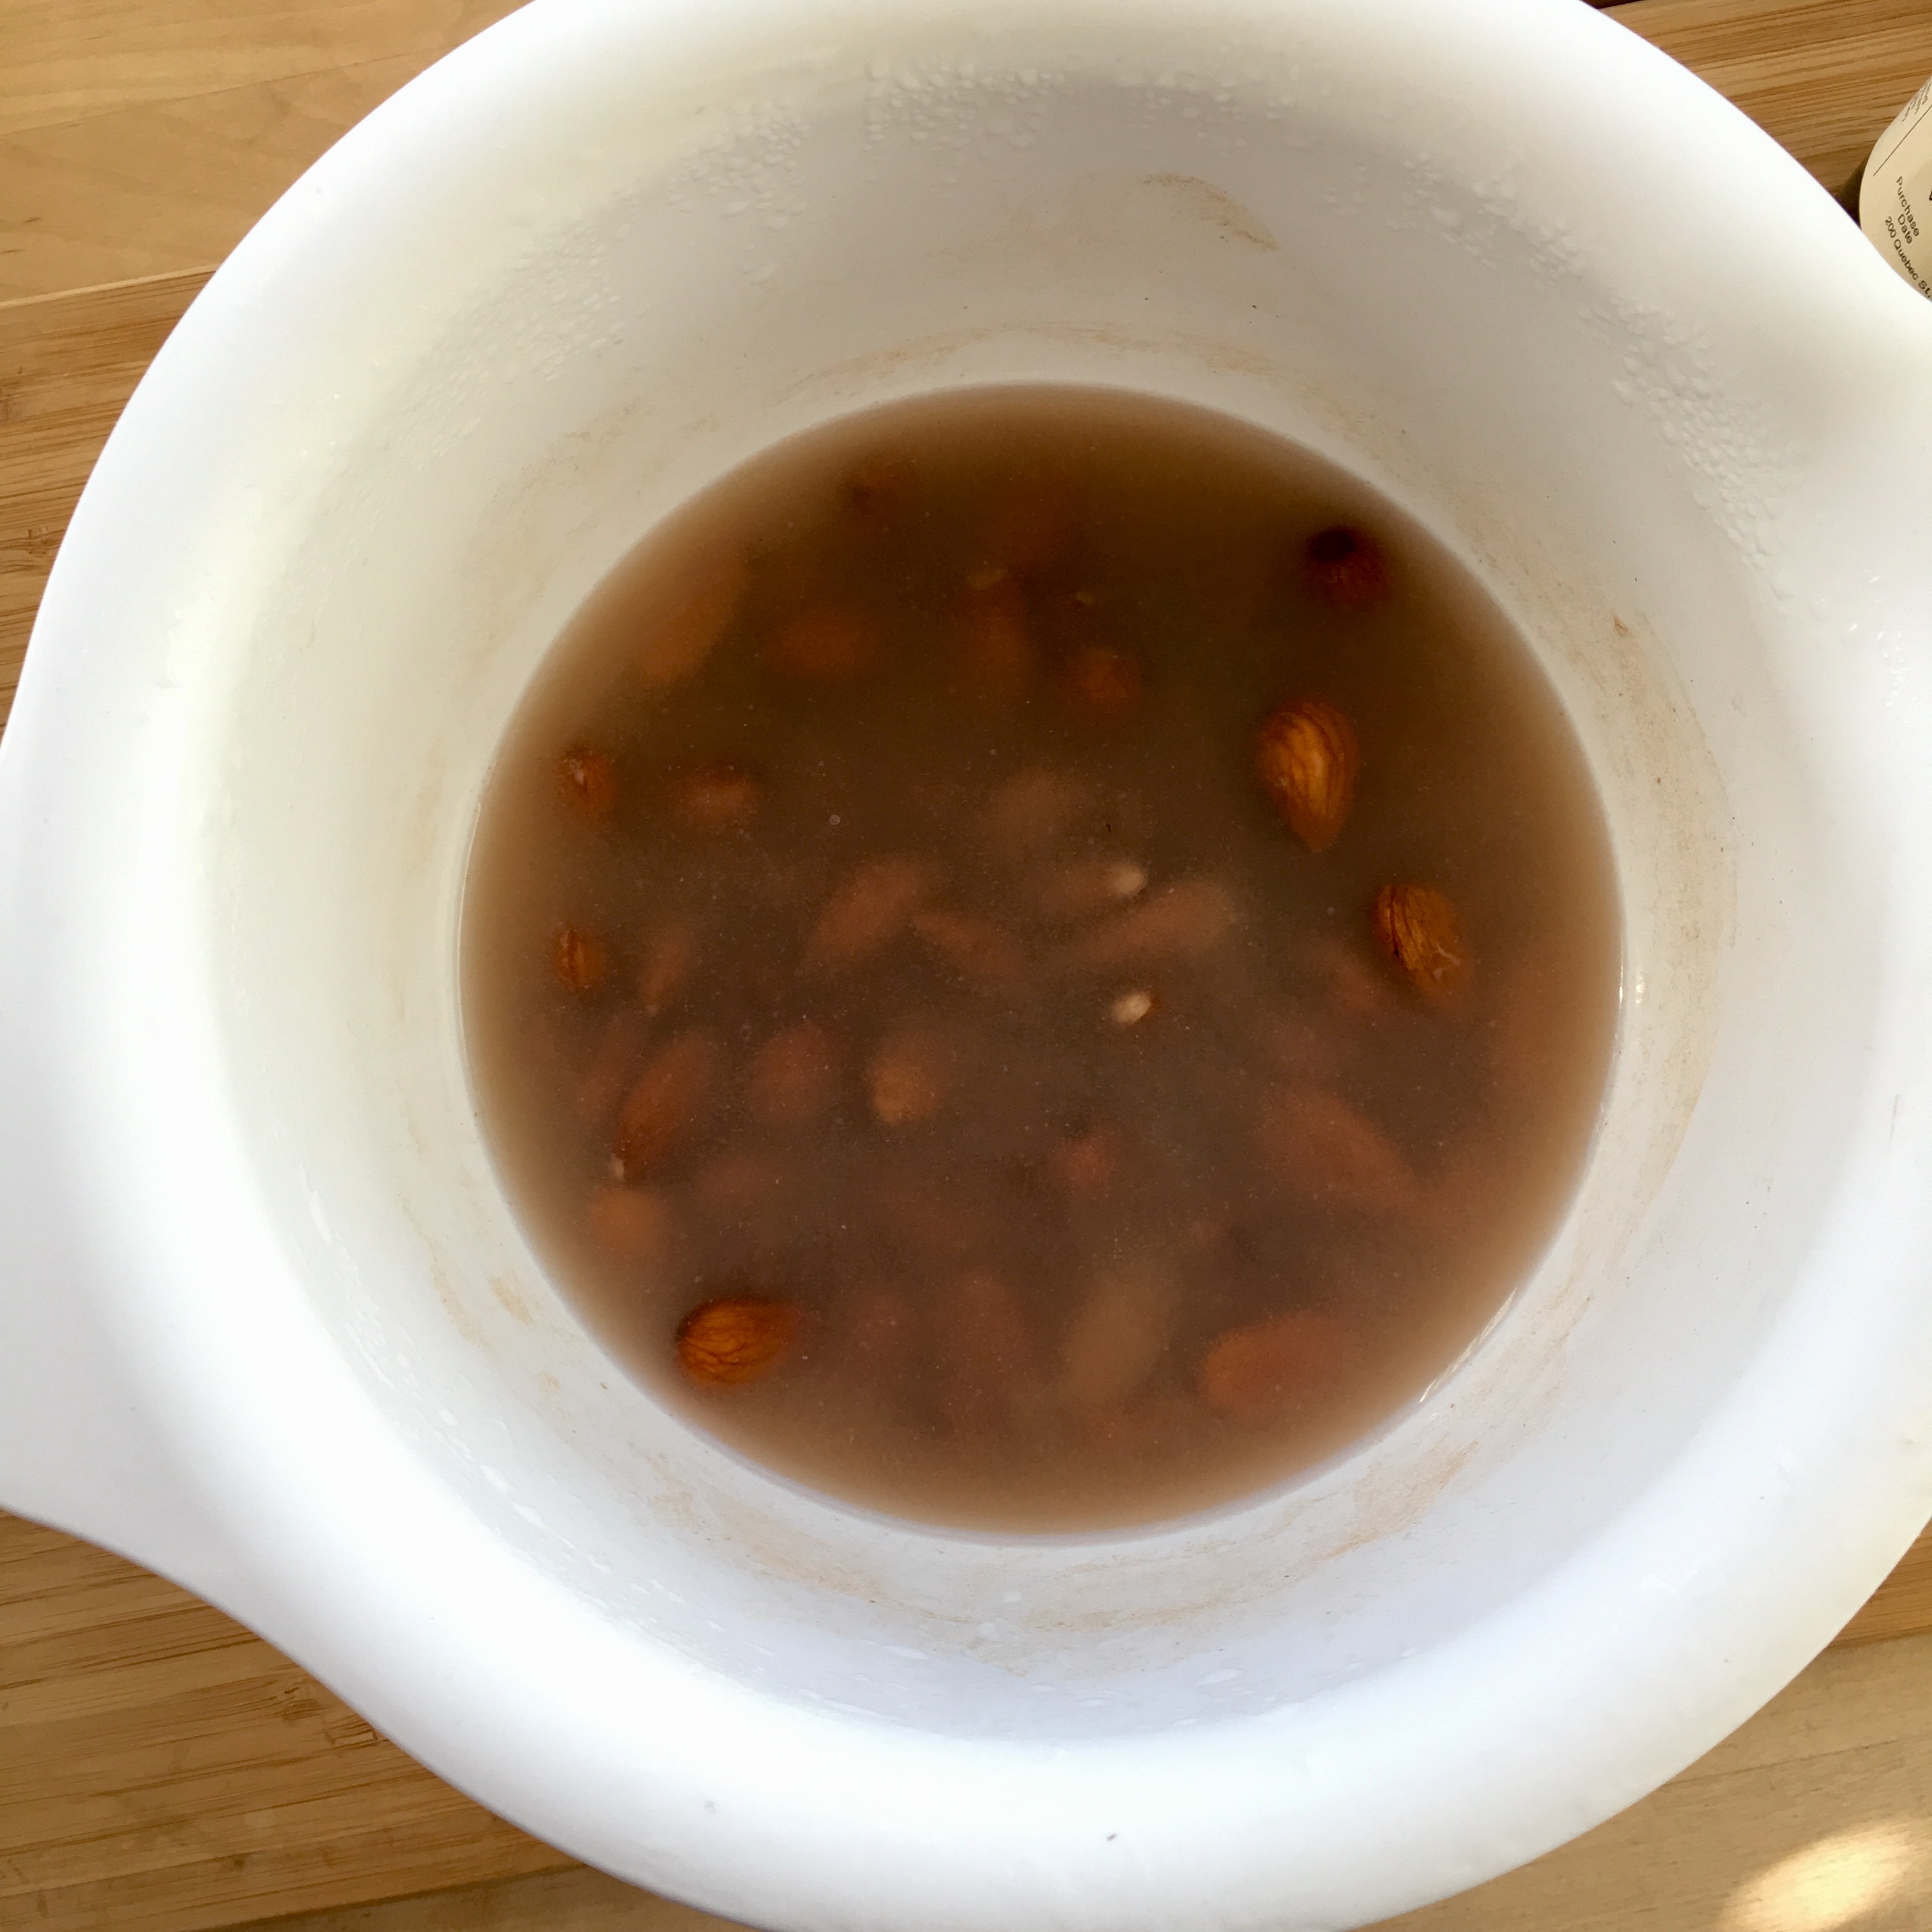
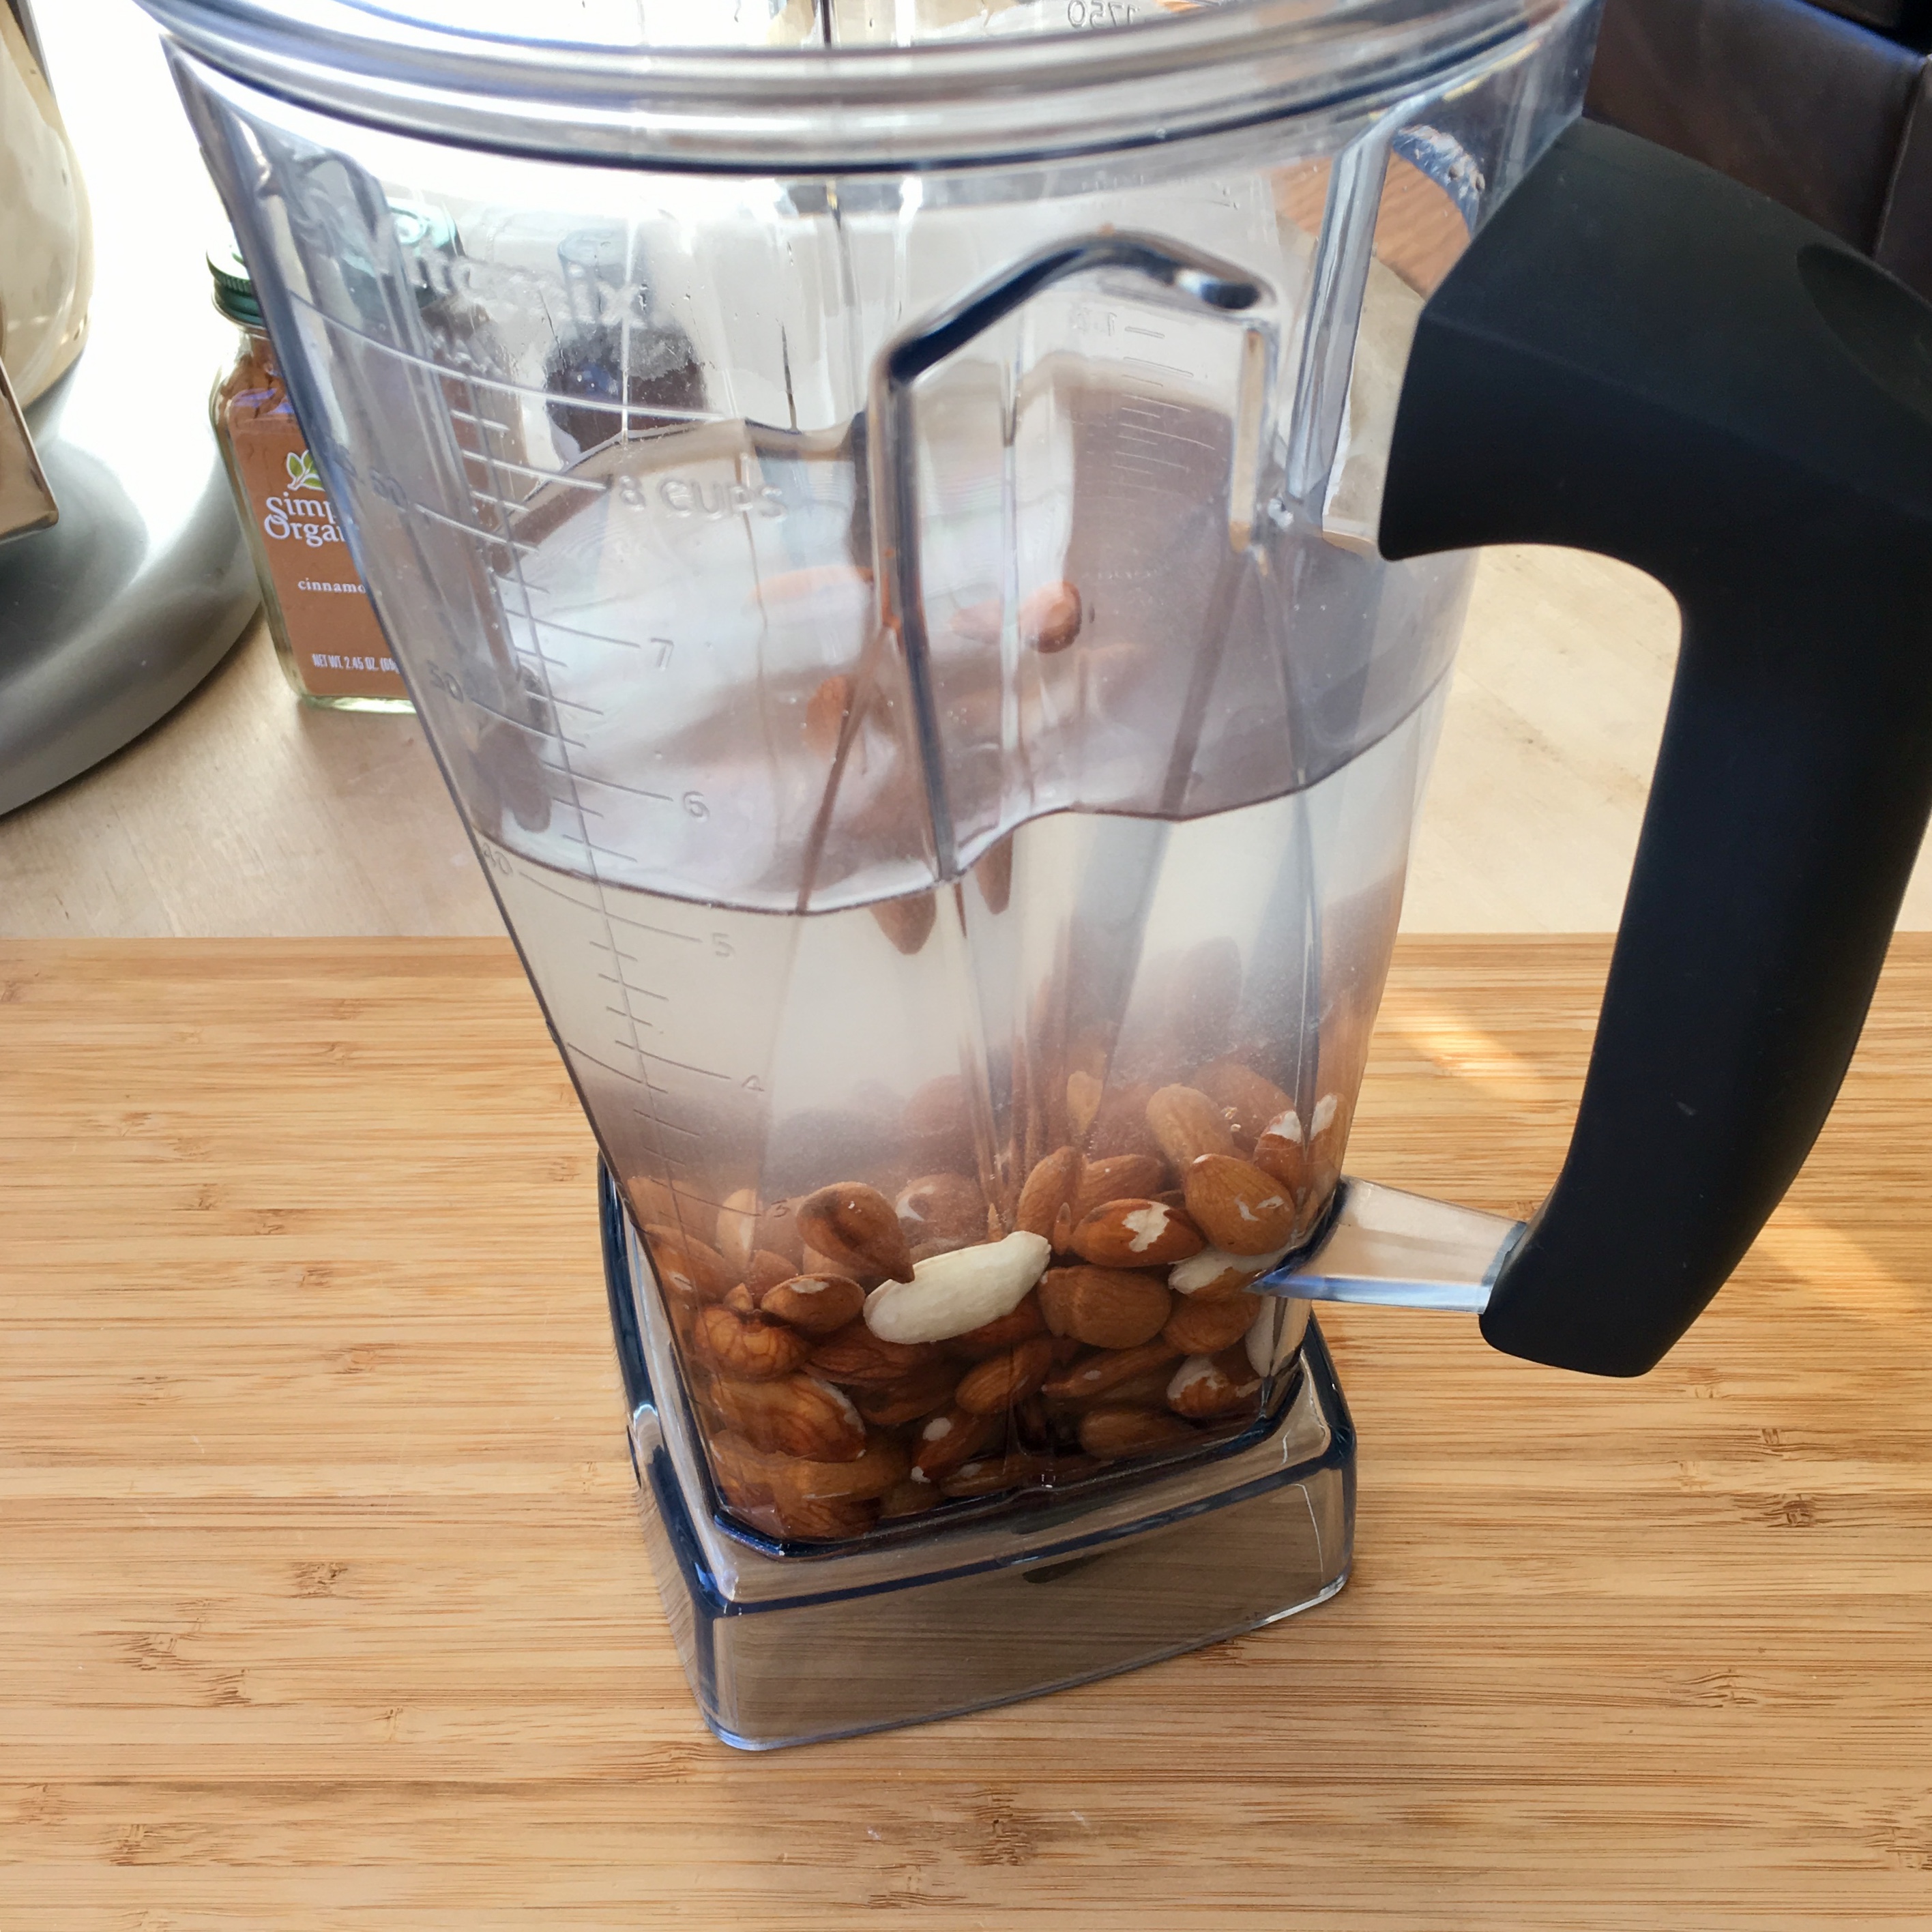
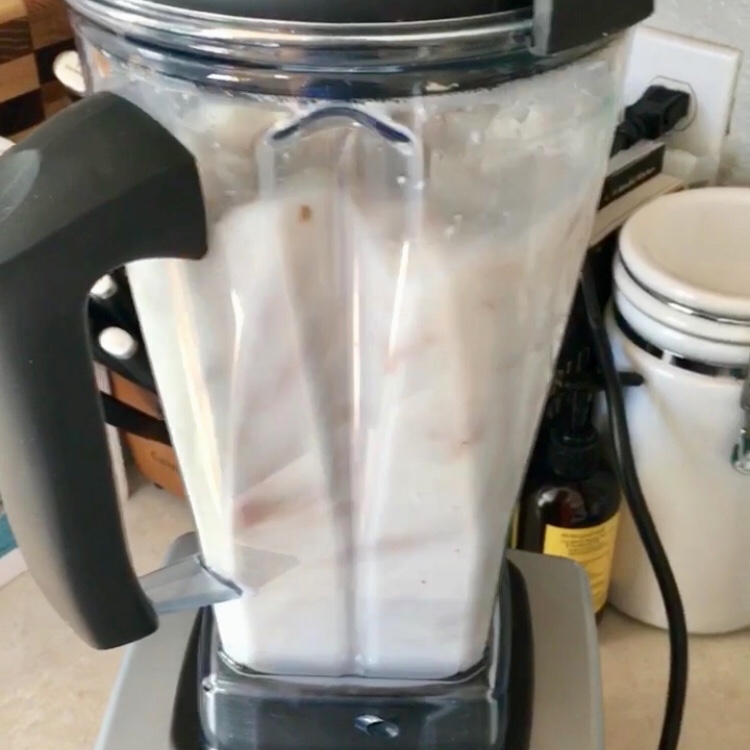
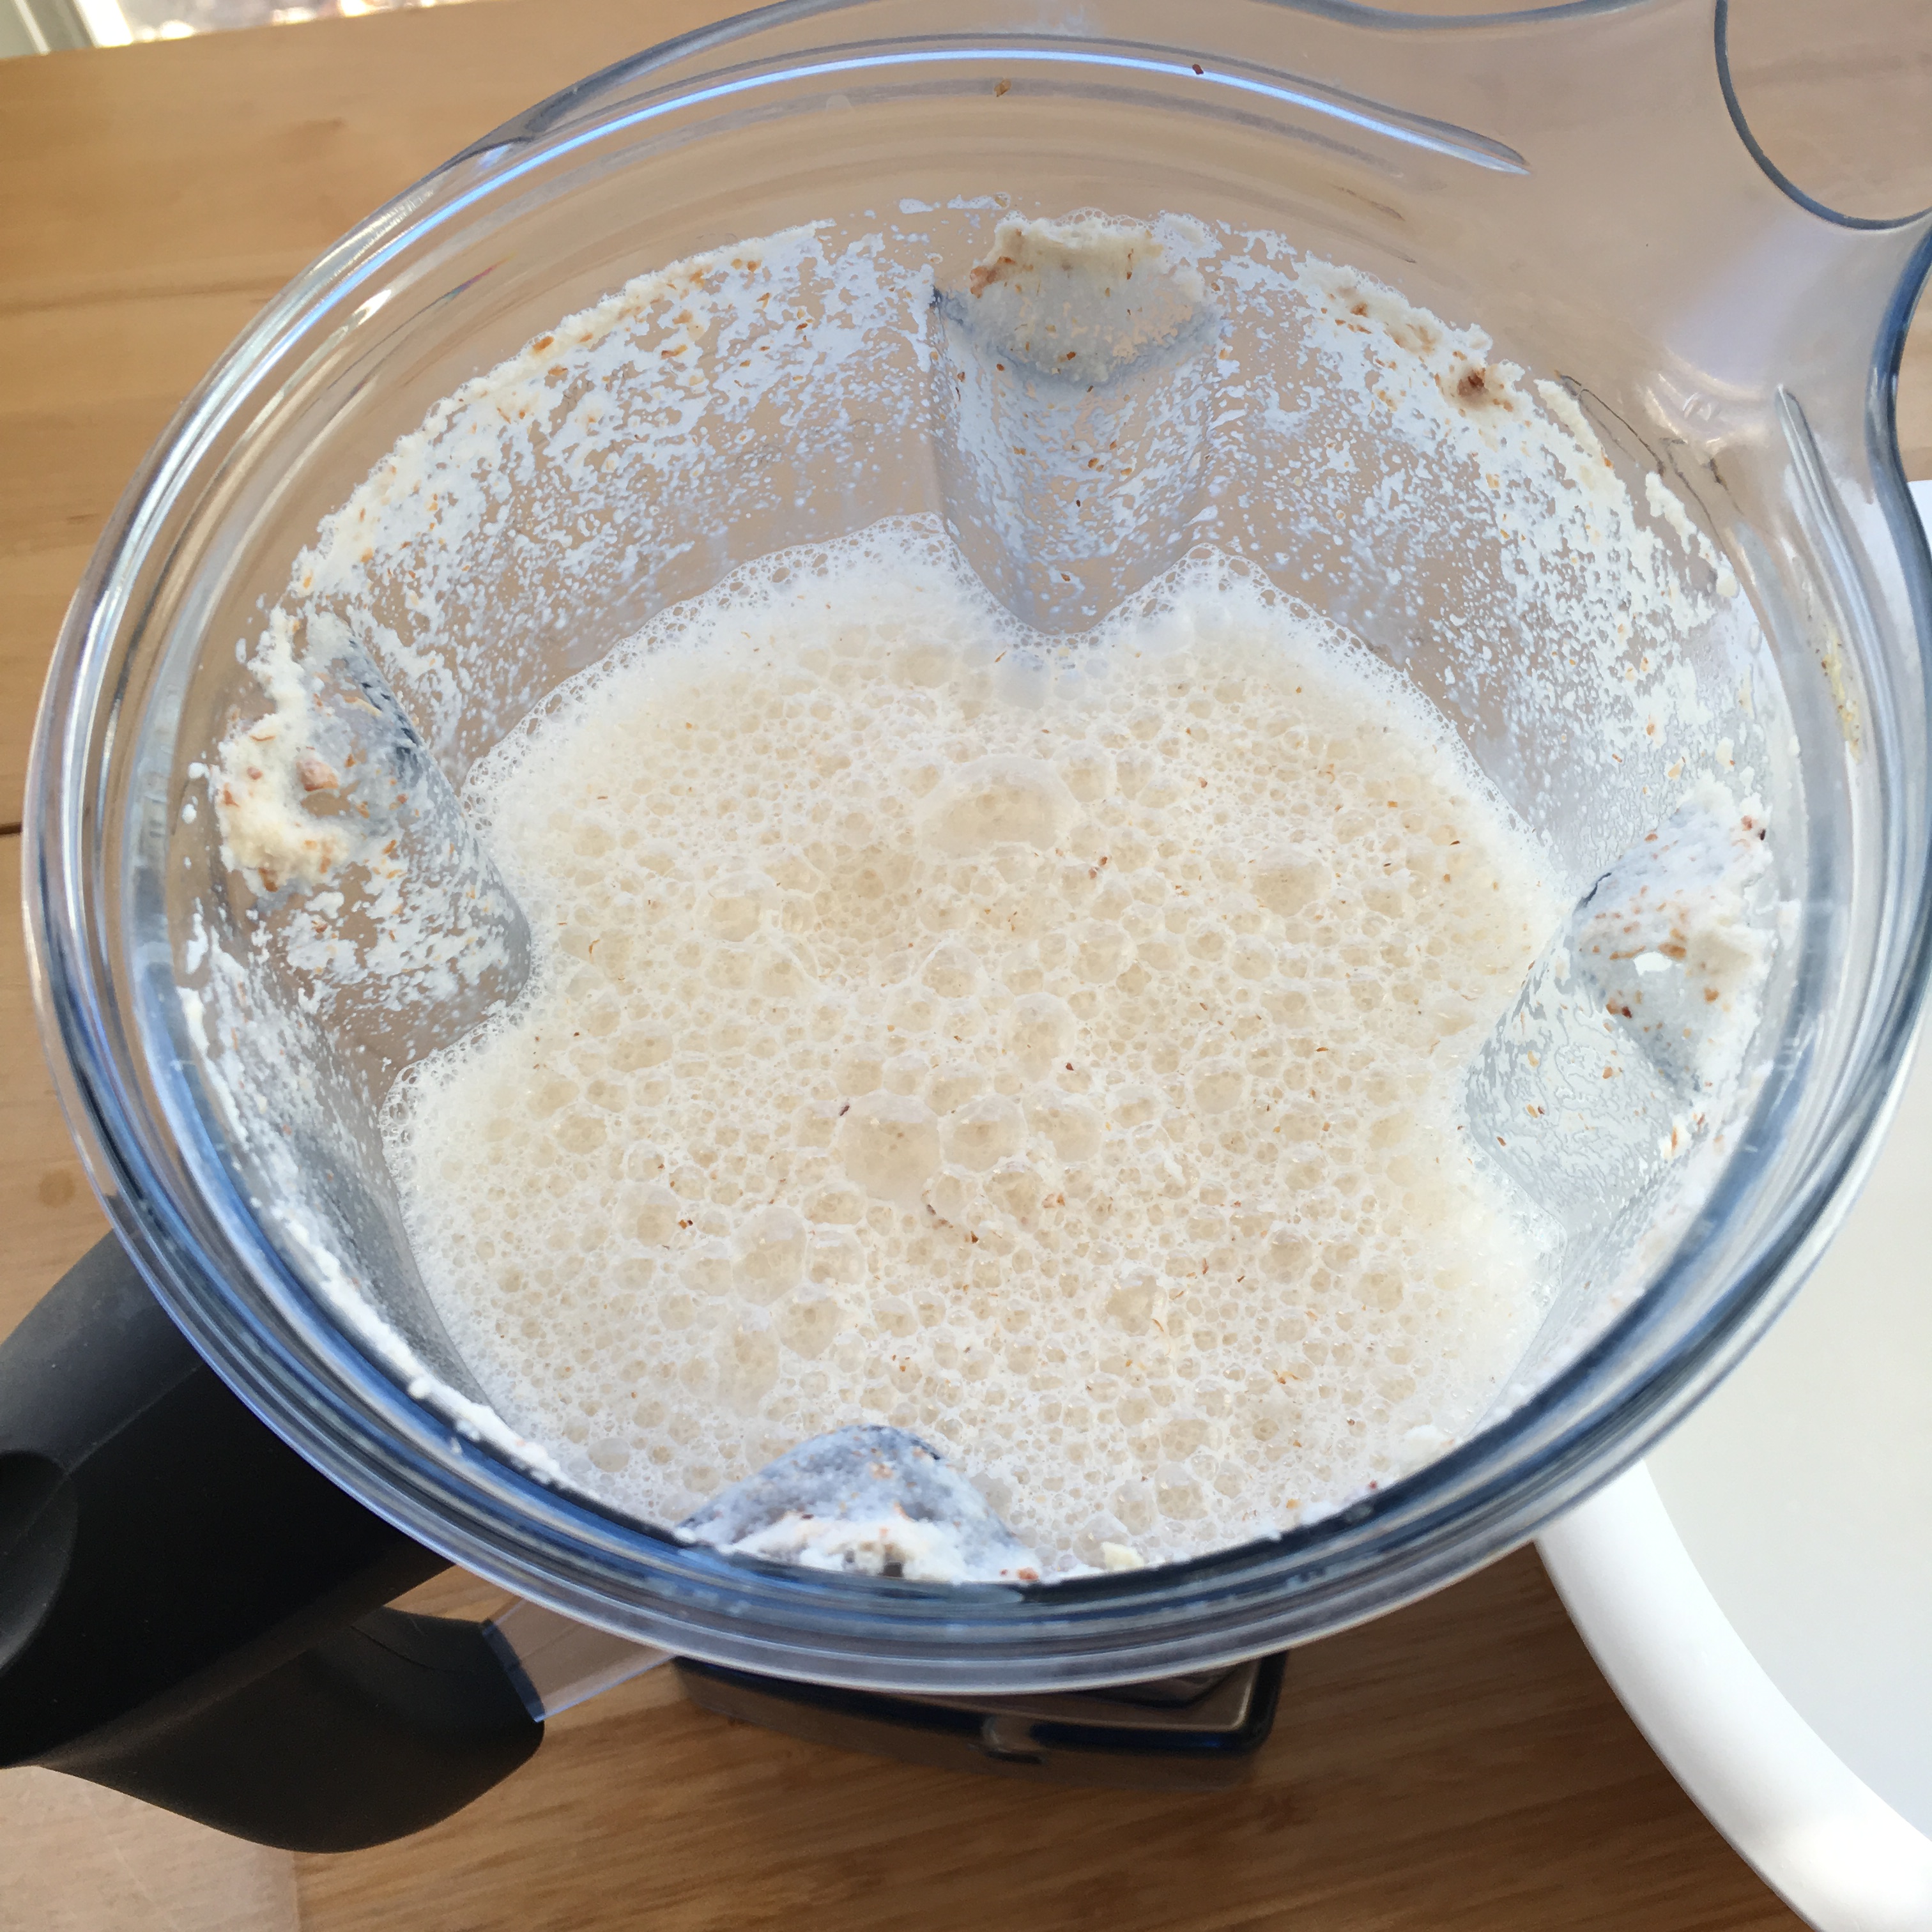
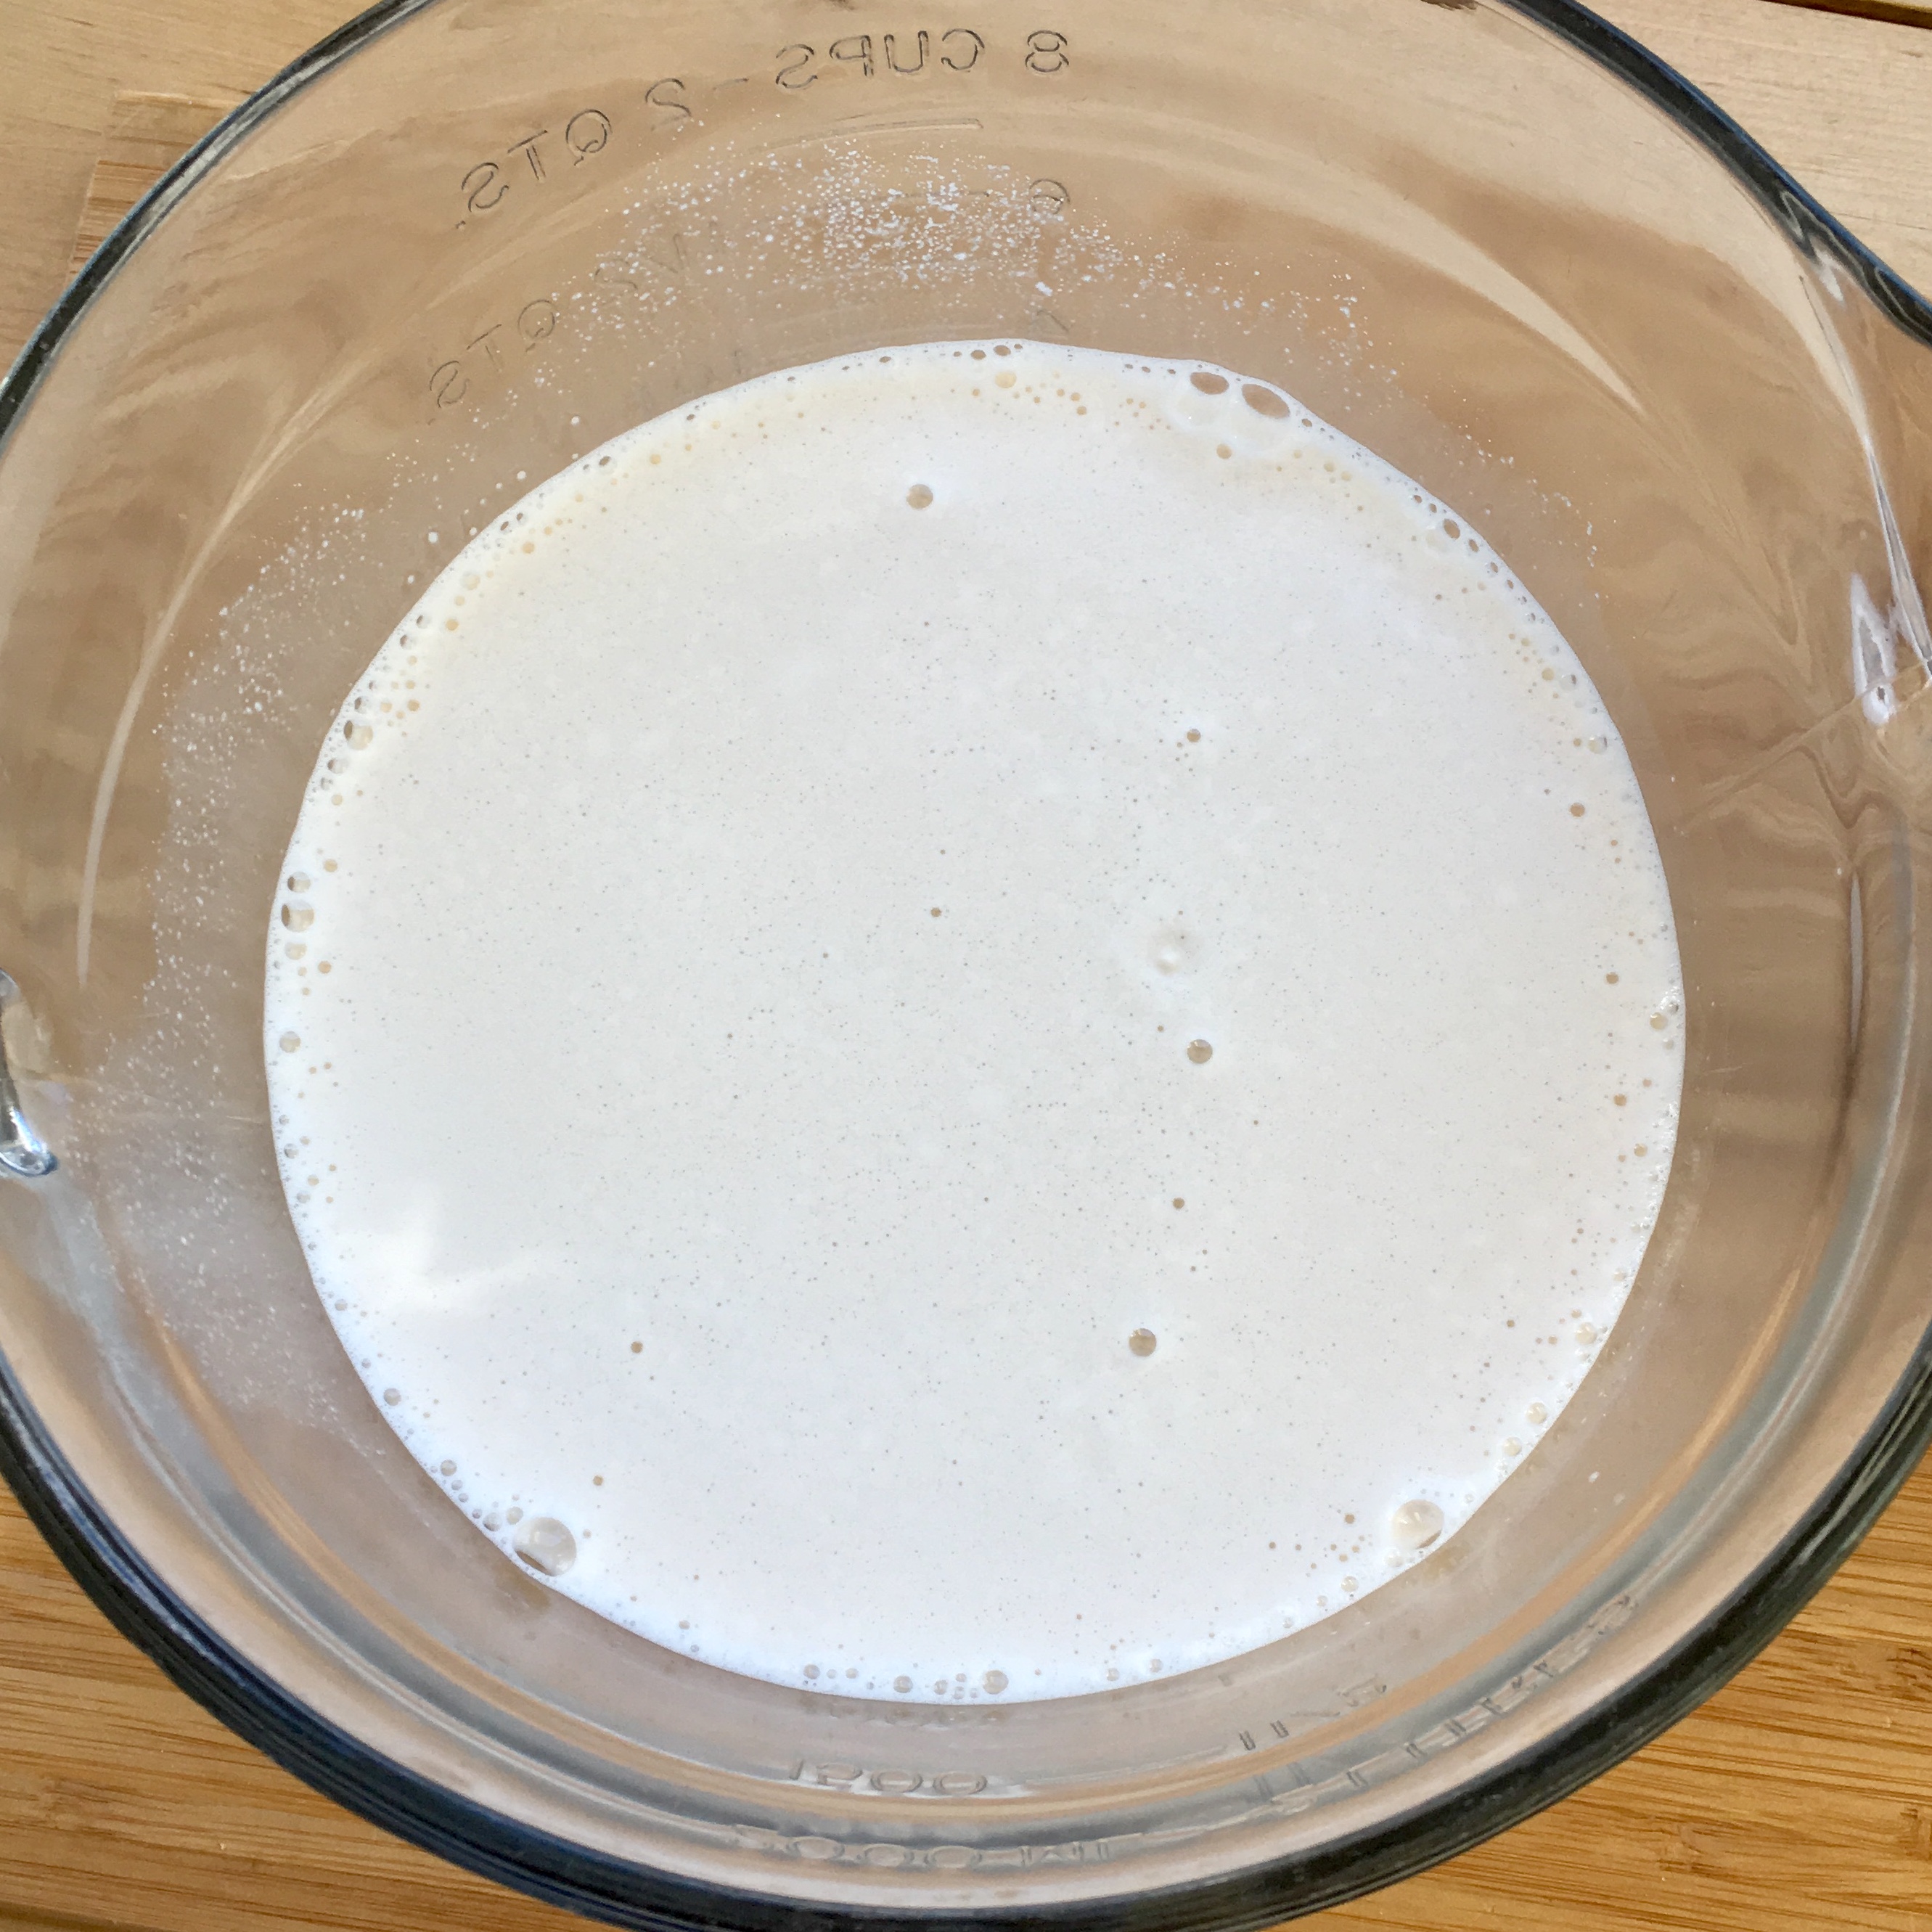
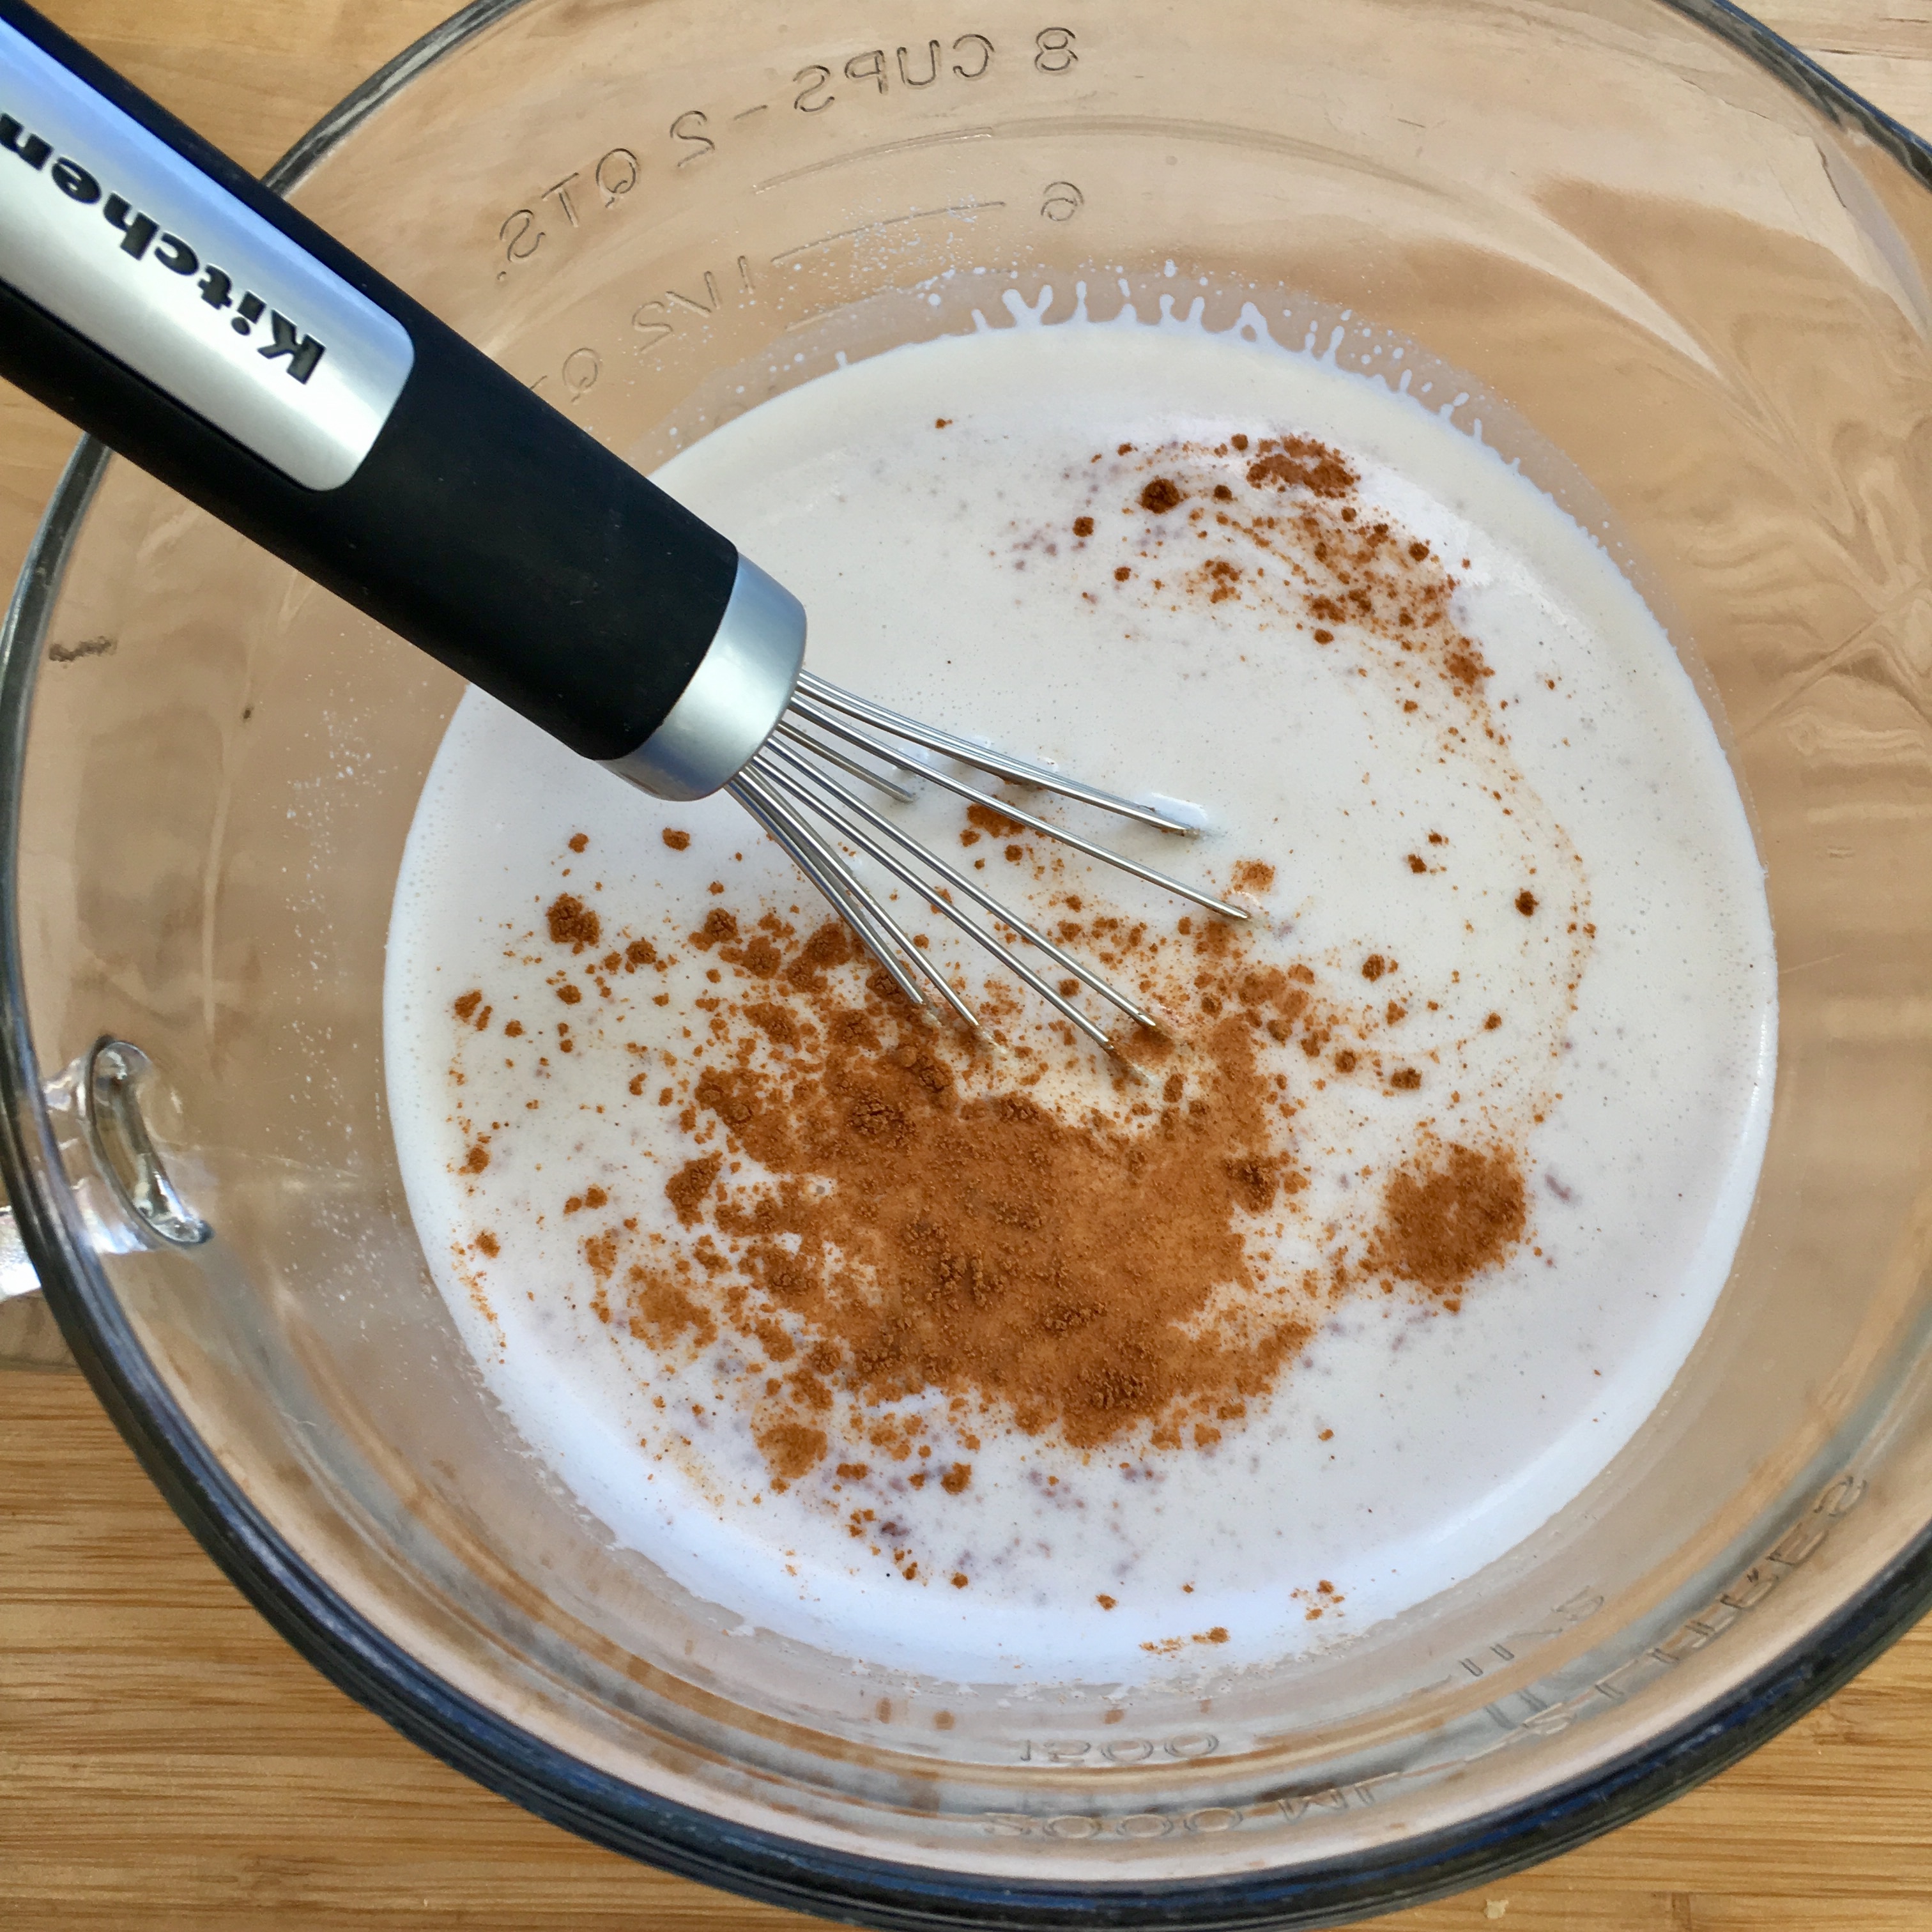
So now that you’ve got your ingredients and your supplies in order, how do you actually make the almond milk?! Step one is to soak the almonds; they soak in a bowl covered in water overnight for at least 8 hours, but up to 24 hours – the longer the better, I usually do mine for about 12 hours. When the nuts are ready, you want to drain them and rinse them with water and then place them in your blender along with 4 cups of water (filtered is best). I blend mine on medium speed for about 2 minutes – you just want to make sure the almonds are completely broken down and no large chunks remain. You then will strain the liquid through your nut milk bag into a large bowl – set the leftover almond pulp to the side, don’t throw it away – there are so many things you can use this for (recipes coming soon)! Once the milk is strained, it is done. At this point you can whisk in any additional flavors you want – I love adding vanilla and cinnamon – then seal it in an airtight container to be stored in the fridge for up to 5 days and enjoy. I like it best in my chia seed pudding, hot chocolate or in coffee instead of cream!
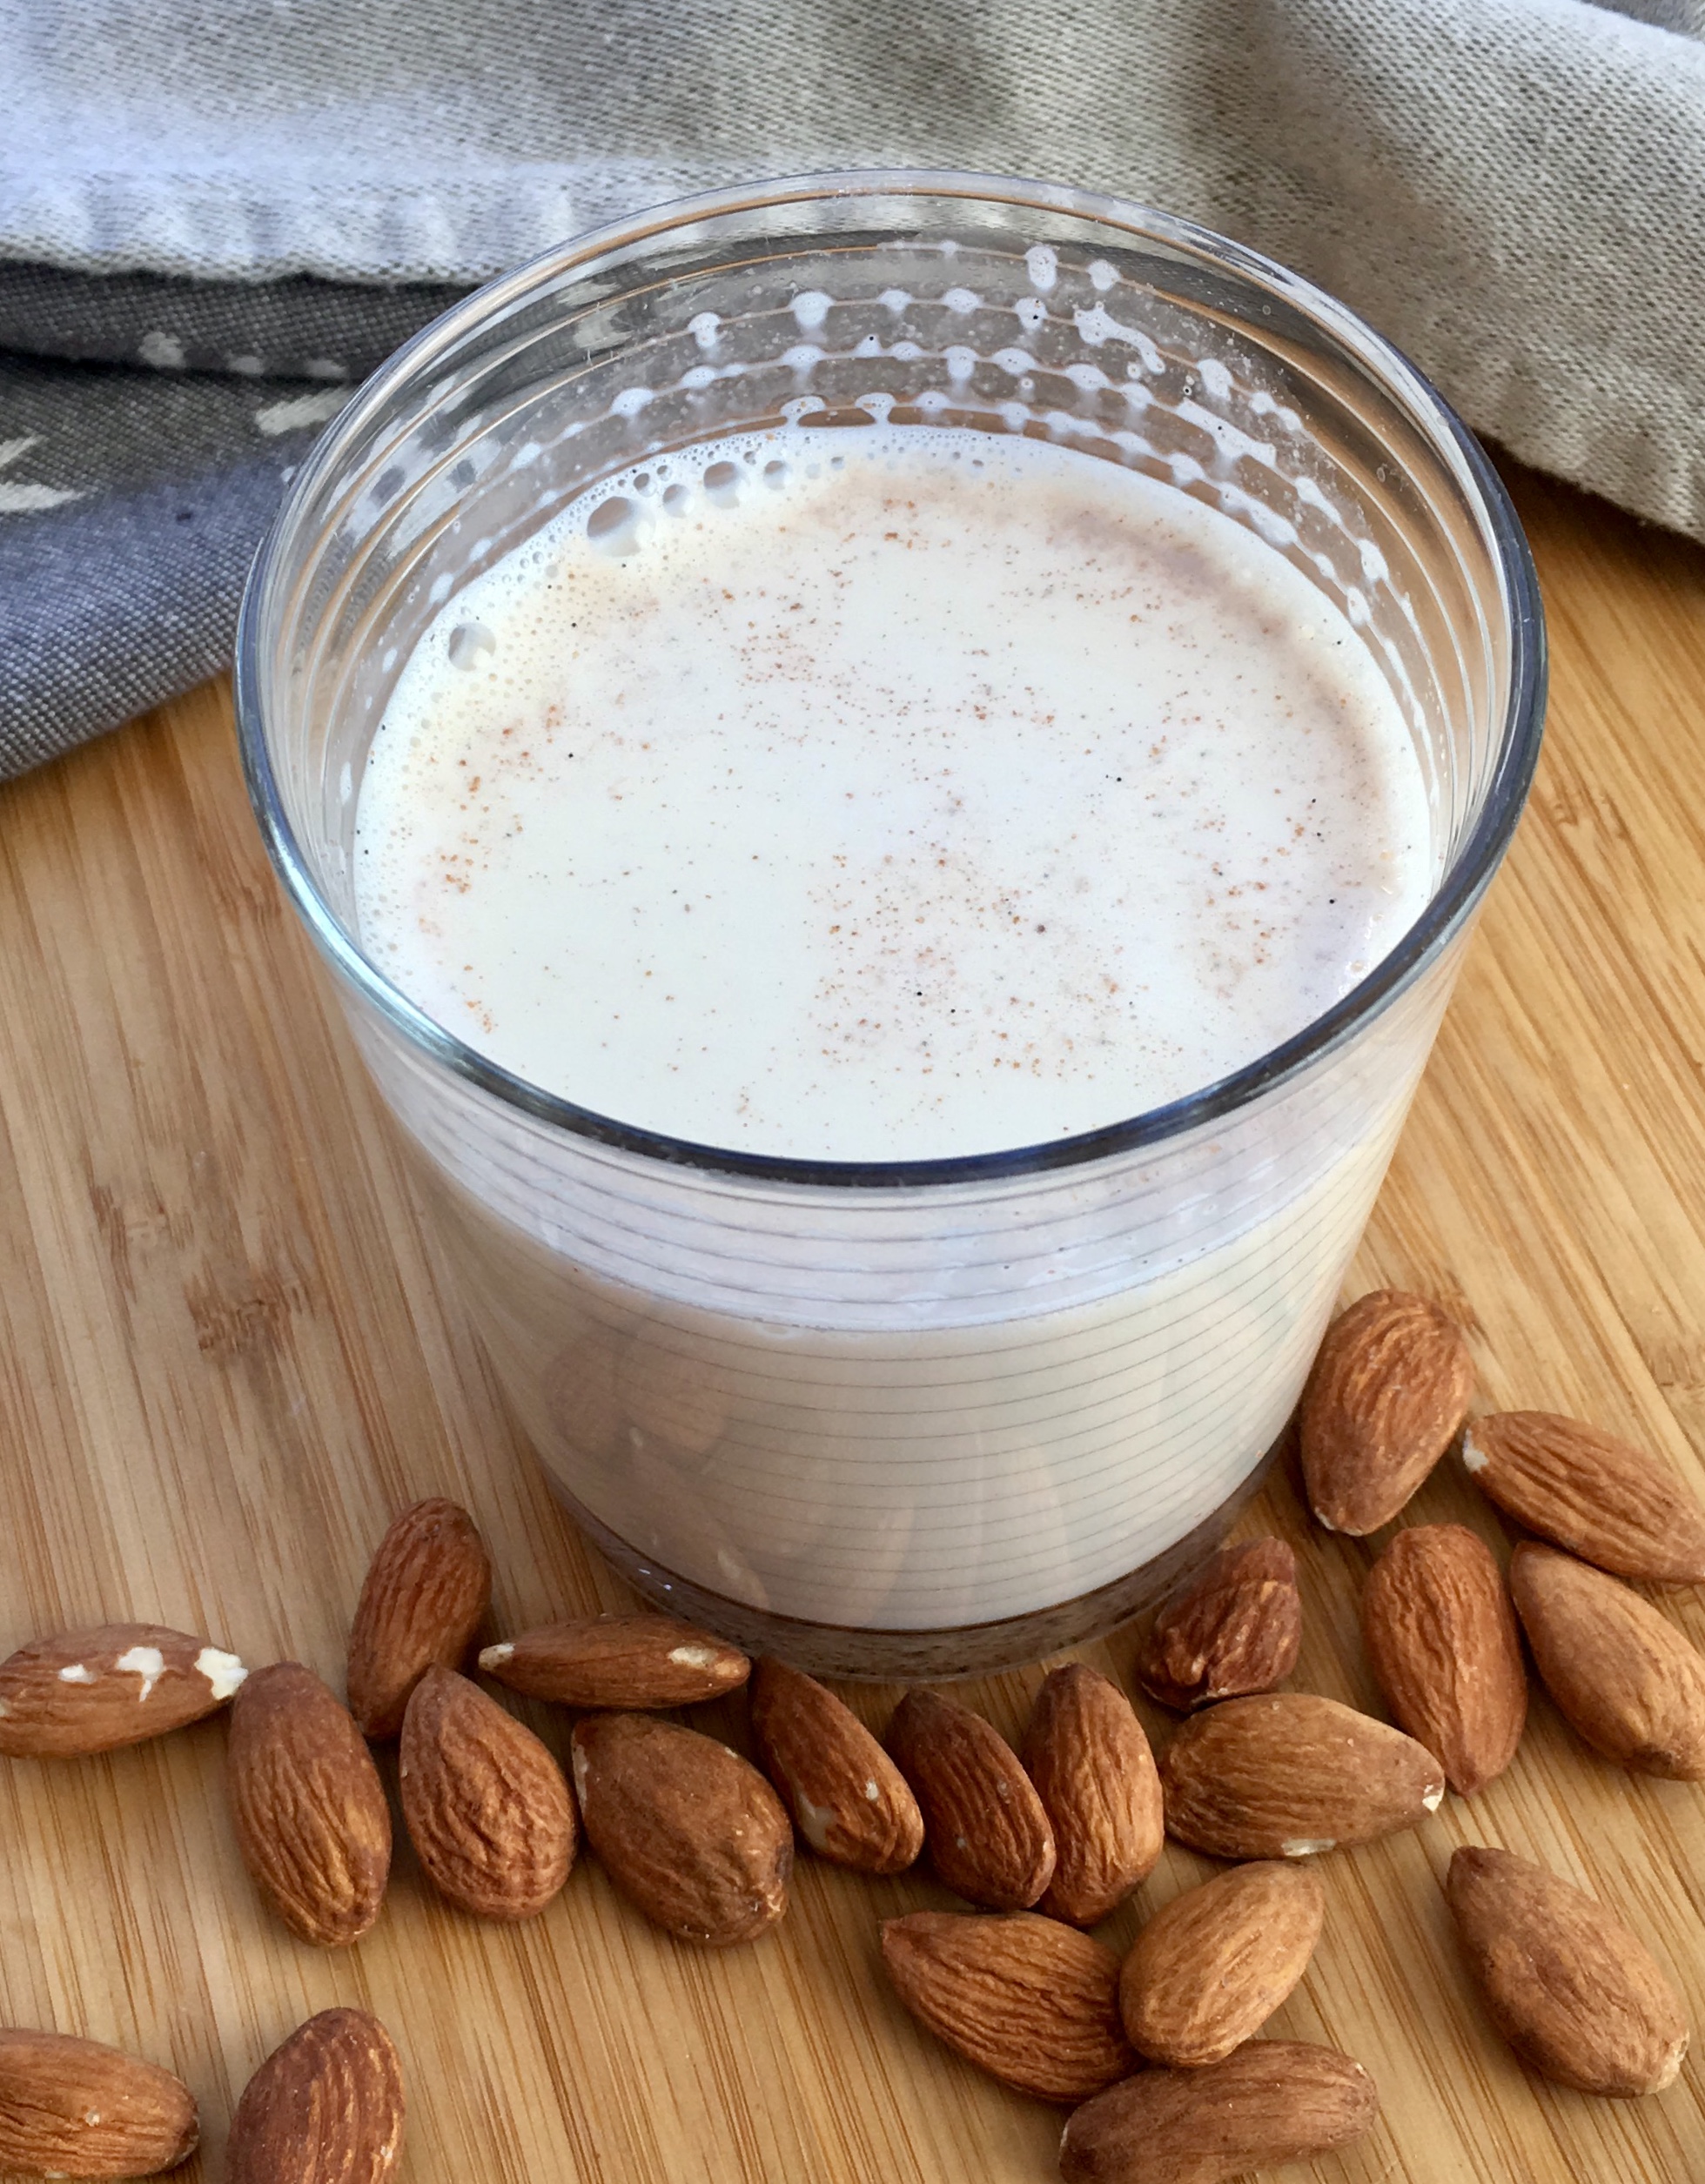
- 1 cup whole raw almonds
- Water
- Nut Milk Bag (we recommend Ellie’s Best brand)
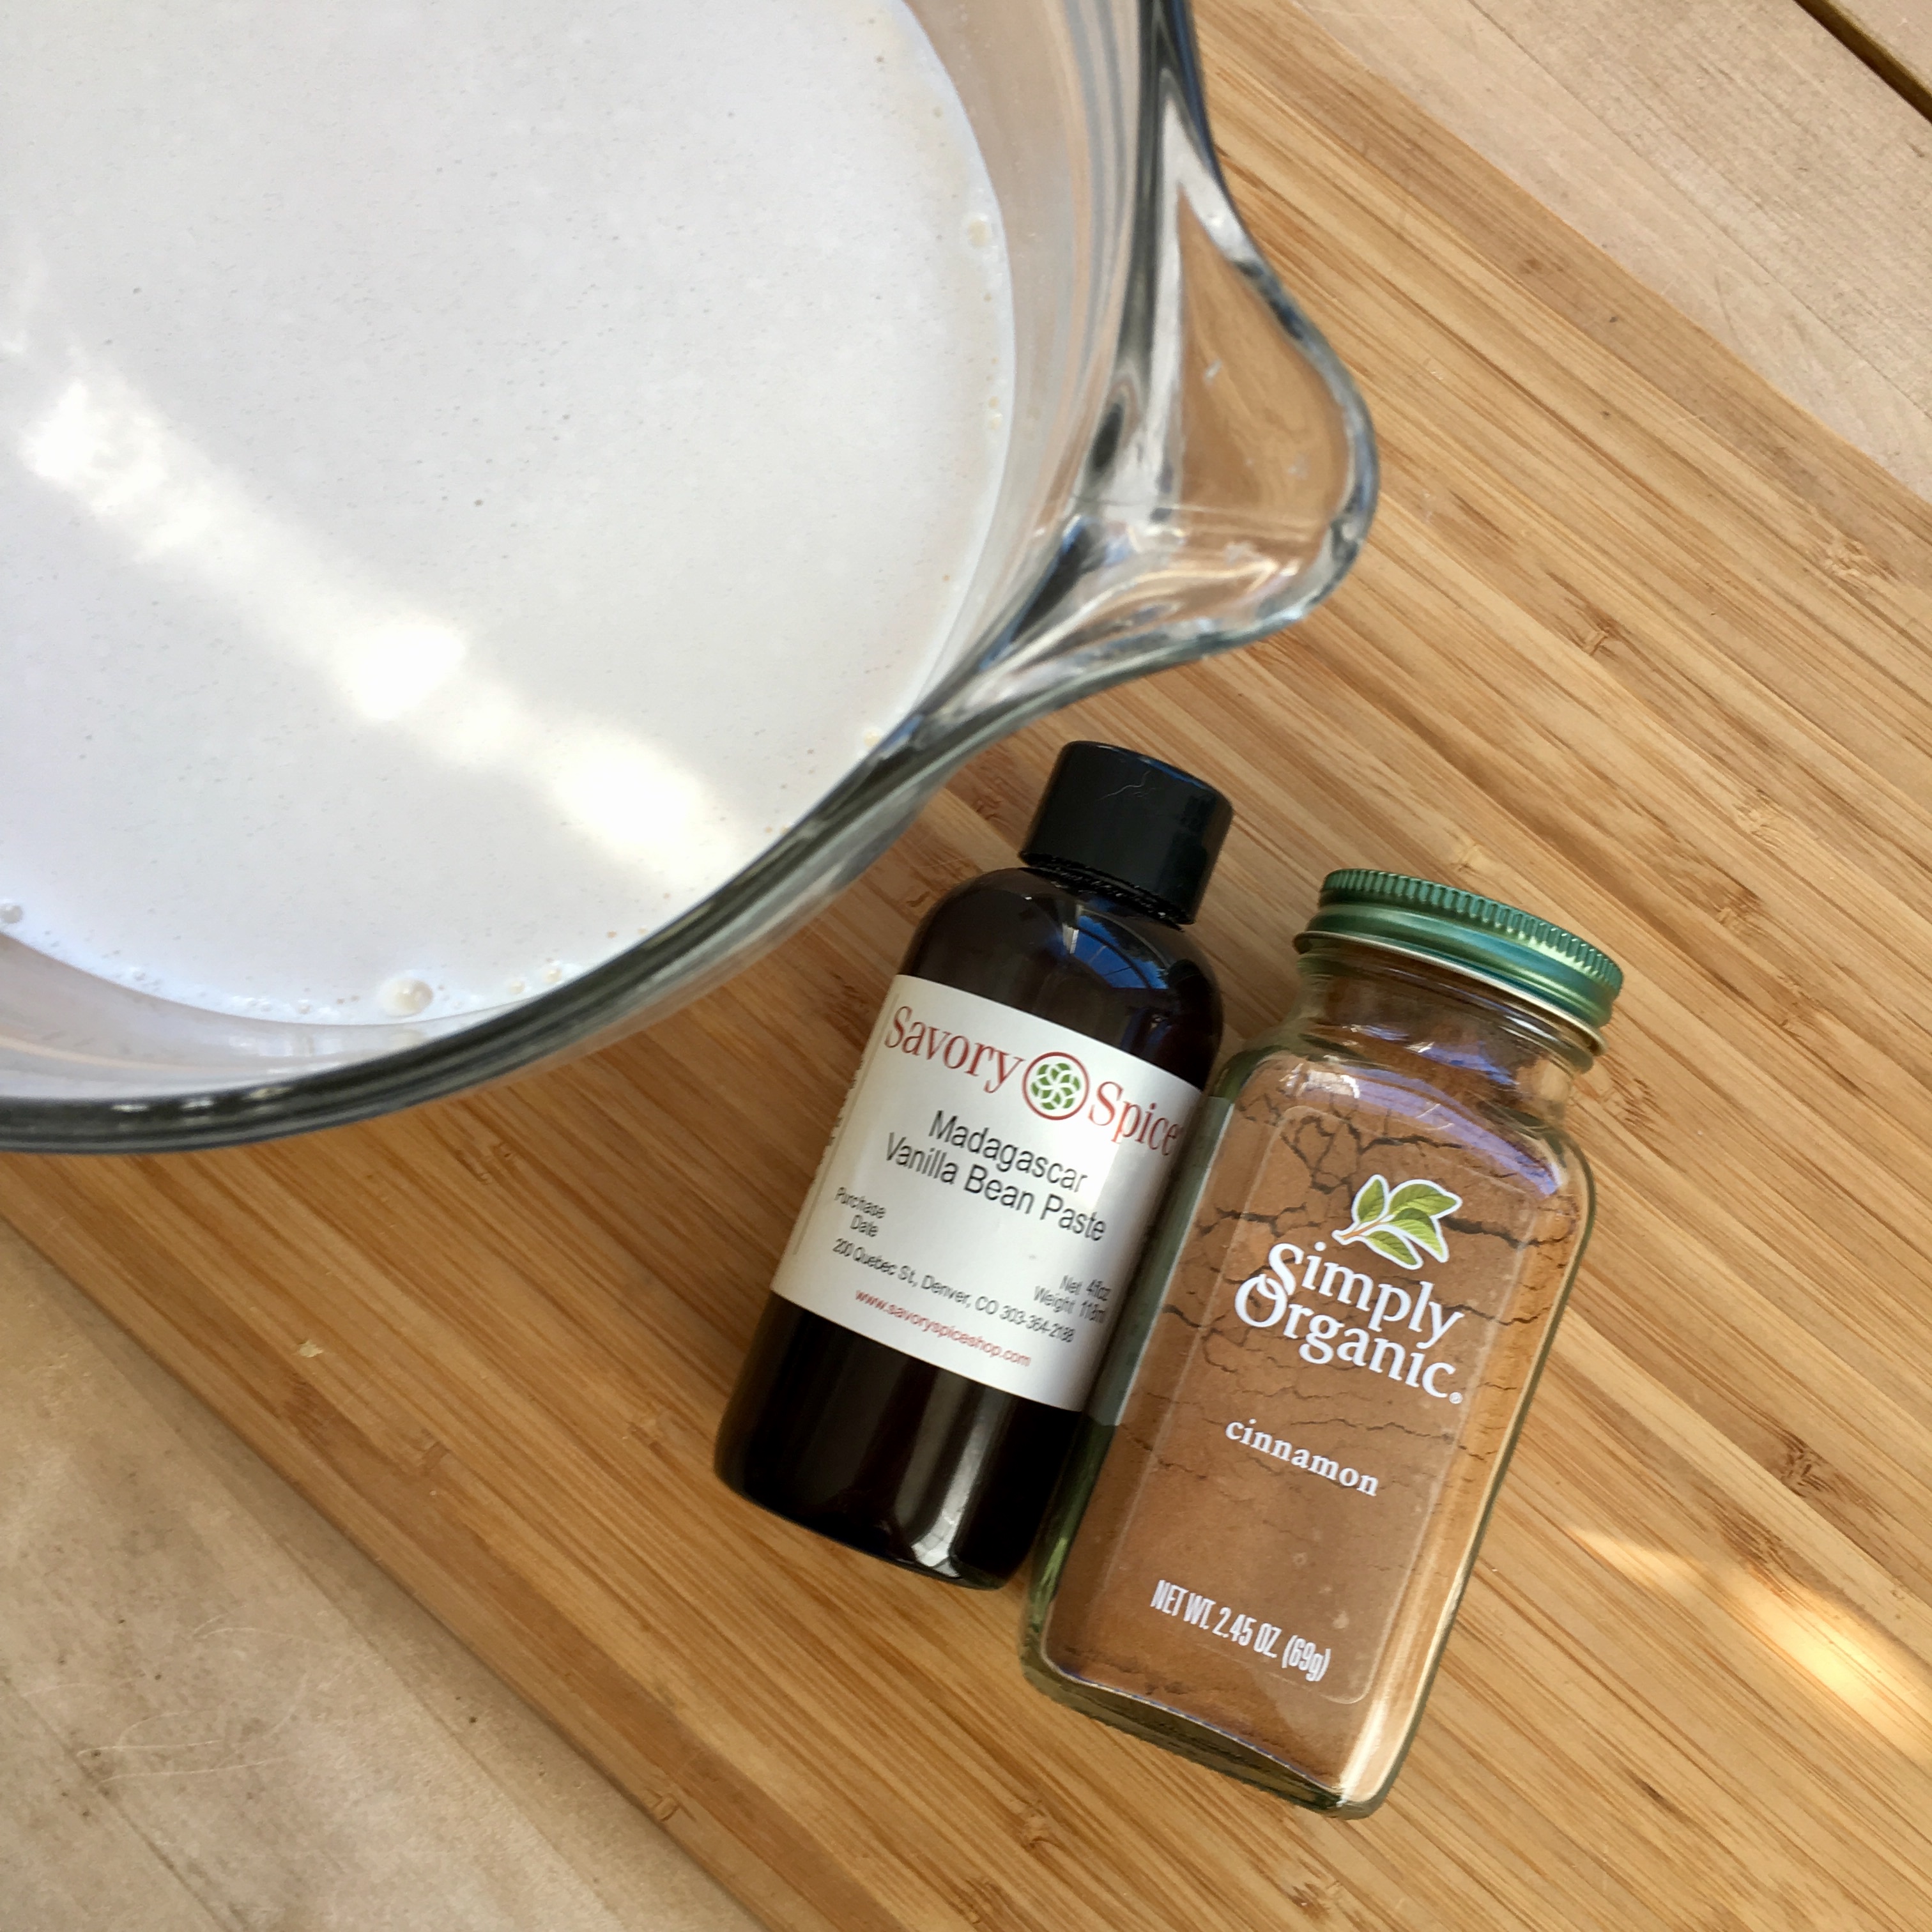
- 1 teaspoon vanilla bean paste (sub vanilla extract, or omit for whole 30)
- ½ teaspoon ground cinnamon
- Place almonds in a bowl with enough water to cover them. Cover bowl with plastic wrap and let sit for 8-24 hours.
- Drain and rinse the soaked almonds and then place in a blender (use a good, powerful blender like a Vitamix). Add 4 cups of water and blend until nuts are completely broken down, about 2 minutes.
- Strain the mixture through a nut milk bag into a bowl.
- Whisk in the vanilla bean paste and cinnamon.
- Store refrigerated in a sealed container for up to 5 days.

